Today I setup SSL/TLS for Infor e-Commerce using Let’s Encrypt, the new free, automated, and open Certificate Authority (CA).
Topology
Infor e-Commerce (f.k.a. Movex e-Sales) is a J2EE application running on IBM HTTP Server (IHS) and IBM WebSphere Application Server (WAS), where IHS is on the DMZ and has a certificate on port 443, and where WAS is on the local network and has a certificate on port 9043. That’s two certificates.

Step 1. Backup
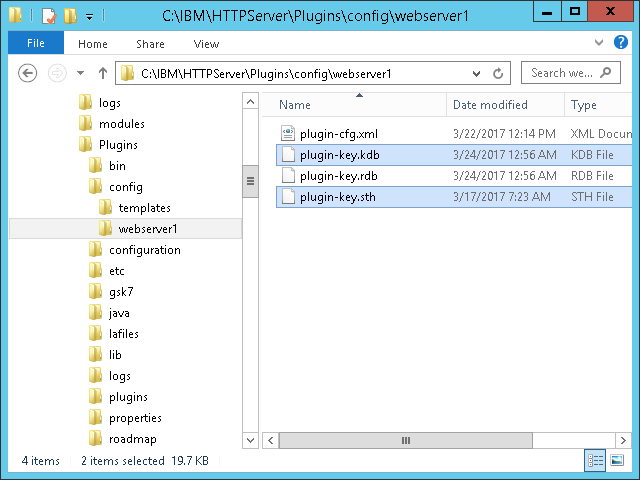
Backup the following IHS and WAS files in case you need to restore them:
IBM
├───HTTPServer
│   ├───conf
│   │       httpd.conf
│   │
│   └───Plugins
│       └───config
│           └───webserver1
│                   plugin-cfg.xml
│                   plugin-key.crl
│                   plugin-key.kdb
│                   plugin-key.rdb
│                   plugin-key.sth
│
└───WebSphere
    └───AppServer
        └───profiles
            └───AppSrv01
                ├───config
                │   └───cells
                │       └───Node01Cell
                │           │   security.xml
                │           │
                │           └───nodes
                │               ├───AppNode01
                │               │       key.p12
                │               │       trust.p12
                │               │
                │               └───WebNode01
                │                   └───servers
                │                       └───webserver1
                │                               httpd.conf
                │                               plugin-cfg.xml
                │                               plugin-key.crl
                │                               plugin-key.kdb
                │                               plugin-key.rdb
                │                               plugin-key.sth
                │                               server.xml
                │
                └───etc
                        clientCert.arm
                        key.p12
                        serverCert.arm
                        trust.p12
Step 2. Setup IHS on DMZ
Setup IHS on the DMZ (DNS, firewall, etc.) to serve requests on the Internet:


Step 3. Key database
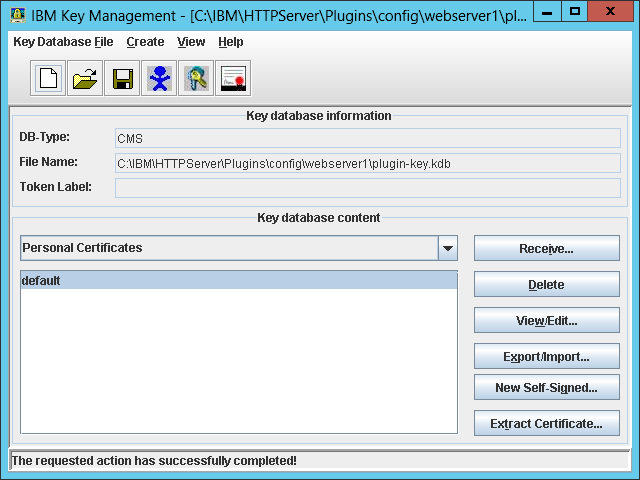
Let’s verify the key database.
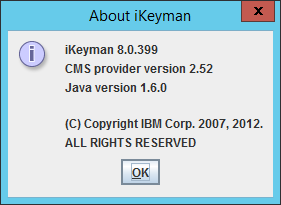
- Find the latest version of iKeyman (there are several versions of iKeyman throughout IHS and WAS); use version 8.0.399 or later for the most recent cryptographic properties (e.g. SHA256):
C:\IBM\HTTPServer\Plugins\bin\ikeyman.bat


- Open the default plugin key database:
C:\IBM\HTTPServer\Plugins\config\webserver1\plugin-key.kdb

The default password isWebAS. You can recover a lost password by calculating the stash (plugin-key.sth) XOR 245, or you can create a new key database from scratch.
- Ensure the Signer Certificates contains the same signer certificates as the WAS default trust store (e.g. datapower and root); compare by fingerprints. They should already be there; otherwise, extract them from the WAS admin console, and add them to the key database. That will allow IHS to trust WAS over SSL:


Step 4. Generate key pair + CSR
Let’s generate a public/private key pair and CSR.
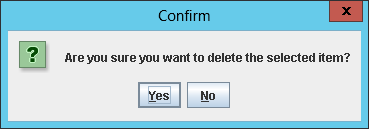
- In iKeyman, delete the default personal certificate:
- Create a new key pair and CSR with the FQDN and cryptographic properties of your choice, leave the email address blank or certbot will throw an error, and save to some temporary file (e.g.
certreq.arm):
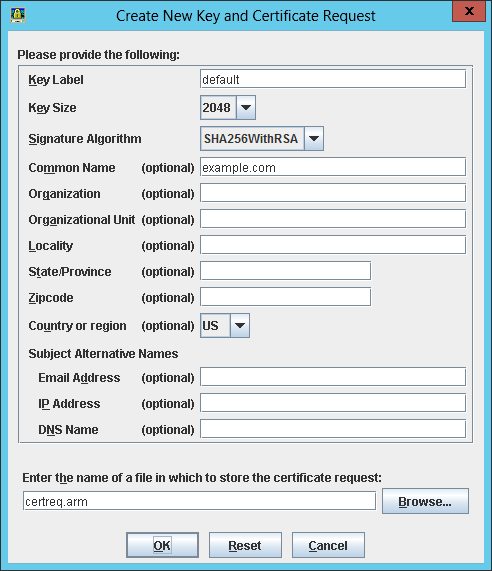

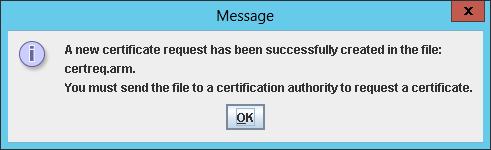
- The result is a new public/private key pair in the key database (
plugin-key.kdb) and a new CSR in PKCS#10 format (certreq.arm):


Step 5. Submit CSR to Let’s Encrypt
Let’s submit the CSR to Let’s Encrypt and get a signed certificate in return.
- Execute certbot with the CSR as input:
certbot certonly --manual --csr ~/certreq.arm

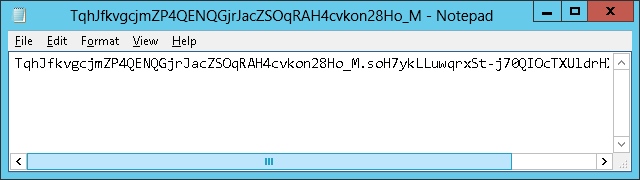
- Enter your email address, accept the Terms of Service, enter the domain name, and select Yes to log your IP address. It will present a challenge (a signed nonce):

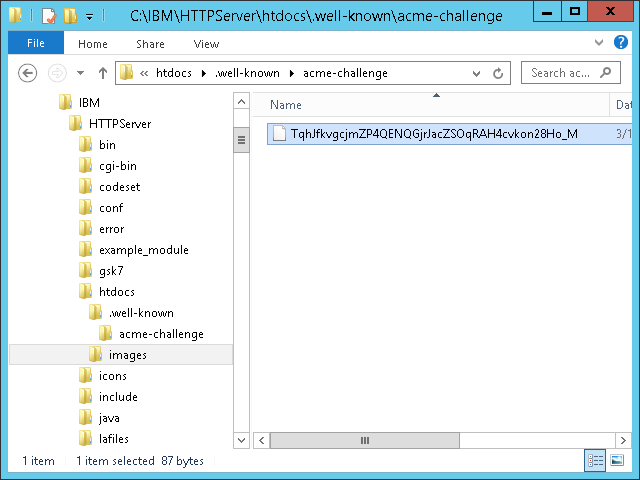
- Create the specified file with the specified content at the specified path:
C:\IBM\HTTPServer\htdocs\.well-known\acme-challenge\

- Test the URL over the Internet (the Let’s Encrypt servers will request it):

- Back in certbot, press ENTER to complete the domain validation:

- The result is a signed certificate, intermediate chain, and full chain:
0000_cert.pem
0000_chain.pem
0001_chain.pem


Step 5bis. Submit CSR to another CA
If you prefer, you can skip Let’s Encrypt, and submit the CSR to another CA of your choice (Verisign, Thawte, GoDaddy, Comodo, etc.).
Step 6. Add the certificate
Let’s receive the signed certificate into the key database.
- In iKeyman > Personal Certificates, receive the certificate
0000_cert.pem:

- Extract the Let’s Encrypt root certificate from one of the chains (e.g. with OpenSSL), or download it directly from IdenTrust at DST Root CA X3, and save it to a temporary file somewhere (e.g.
dst_root.pem). - In Signer Certificates, add the intermediate certificate
0000_chain.pem(Let’s Encrypt Authority X3), and the root certificatedst_root.pem(DST Root CA X3):

- Copy the key database files to WAS:
C:\IBM\WebSphere\AppServer\profiles\AppSrv01\config\cells\Node01Cell\nodes\Node01\servers\webserver1\


Step 7. SSL in IHS
Let’s enable SSL in IHS.
- Open the IHS configuration file in a text editor (e.g. Notepad):
C:\IBM\HTTPServer\conf\httpd.conf
- Add the following directives:
ServerName example.com
LoadModule ibm_ssl_module modules/mod_ibm_ssl.so
KeyFile C:\IBM\HTTPServer\Plugins\config\webserver1\plugin-key.kdb
SSLStashFile C:\IBM\HTTPServer\Plugins\config\webserver1\plugin-key.sth
Listen *:443
<VirtualHost *:443>
SSLEnable
SSLProtocolDisable SSLv2 SSLv3
SSLServerCert default
</VirtualHost>
SSLDisable
- Add the following to redirect all HTTP traffic to HTTPS; it is required for at least the login page, password change, credit card, XML Gateway, and a few other sensitive pages; it is optional for the rest:
LoadModule rewrite_module modules/mod_rewrite.so RewriteEngine on RewriteCond %{SERVER_PORT} =80 RewriteRule ^(.*) https://%{SERVER_NAME}%{REQUEST_URI} [R,L] - Copy
httpd.confto WAS:C:\IBM\WebSphere\AppServer\profiles\AppSrv01\config\cells\Node01Cell\nodes\Node01\servers\webserver1\httpd.conf
Step 8. SSL in WAS
Let’s enable SSL in WAS.
- Ensure the default key store has a personal certificate signed by the signer certificates verified earlier:

- Set the default SSL configuration to use that server certificate (default):

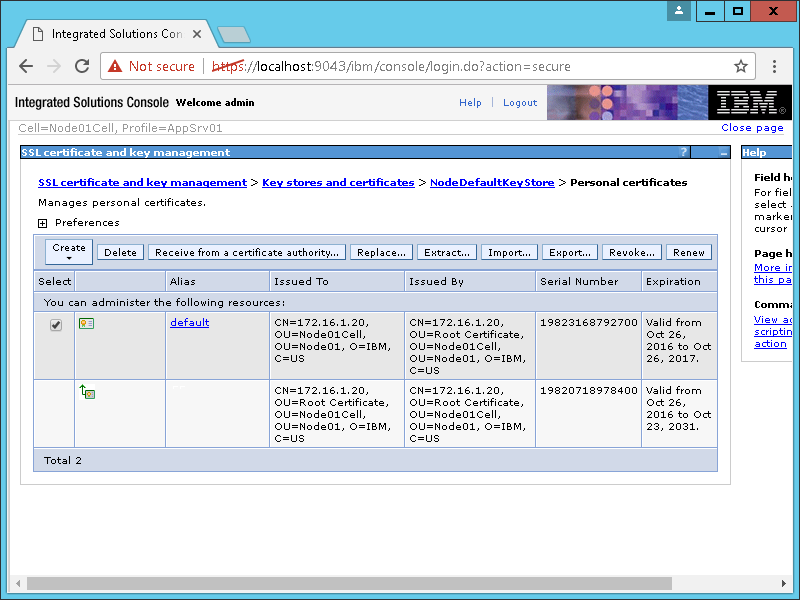

WAS will not have the Let’s Encrypt certificate, but that’s OK for now.
Step 9. Backup + restart
Backup the files, and restart IHS and WAS.
Result
The result is that the browser now trusts the site:

Limitations
Let’s Encrypt does not provide Extended Validation (EV) certificates.
Future work
- Use an ACME client for Windows
- Automate the manual steps
- Setup certificate renewal
- Setup certificate revocation
- Setup the new certificate in WAS too
- Setup WAS for remote web server management
- Replace IHS with nginx
Conclusion
That was my setup of SSL/TLS for Infor e-Commerce using Let’s Encrypt as the certificate authority. In a next post, I would like to setup the certificate in WAS too and setup automatic certificate renewal.
That’s it! Please like, comment, subscribe, share, contribute.

UPDATES:
– Changed preferred path of iKeyman to IHS (instead of WAS)
– Updated to latest version of iKeyman for SHA256 (instead of SHA1)
– Changed screenshot of New CSR for SHA256 (instead of SHA1)
LikeLike
NOTES:
– In httpd.conf, change the path of the key file and stash file accordingly
– For troubleshooting IHS, look at the log file C:\IBM\HTTPServer\logs\error.log
LikeLike
NOTE:
– Add this directive to httpd.conf to redirect the user from the root URL / to the e-Commerce URL:
RedirectMatch permanent ^/$ /infor-ecom-b2b/cc/
LikeLike
thanks for the write up. Looking forward for the scripted info 🙂
LikeLiked by 1 person
Tilo, if/when you have the solution, come write it here as a blog post. I can send you an author invite.
LikeLike
JavaScript code to decode a stash with XOR 245 and recover the password:
LikeLiked by 1 person
UPDATE: According to this IBM page, it’s possible to use private keys created with OpenSSL in PKCS12 format: https://publib.boulder.ibm.com/httpserv/ihsdiag/pkcs12.html
LikeLike
NOTE: Files to backup, flattened:
LikeLike
UPDATE: Regarding how to automatically renew the certificate, I have not been able to find a solution for IHS on Windows. I tried ACMESharp but it requires the private key which I was not able to export from IHS; I even tried to create keys for IHS in PKCS12 format but without success. Meanwhile, to renew using the same technique as before using certbox on Linux: run the same command as before,
certbot certonly --manual --csr certreq.arm, solve the challenge as before, certbot will produce a new 90 day certificate with the next sequence number0001_cert.pem, receive it as before in iKeyman, and repeat in 90 days or find a solution and let us know here.LikeLike