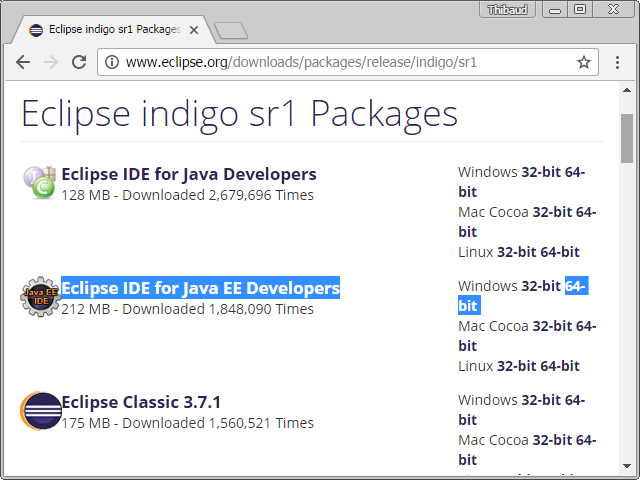
I have a question regarding Infor e-Commerce (f.k.a. e-Sales): have you ever used the Infor Application Installer (IAI) to deploy e-Commerce applications via ZIP files instead of via the Development Studio?
Scenario
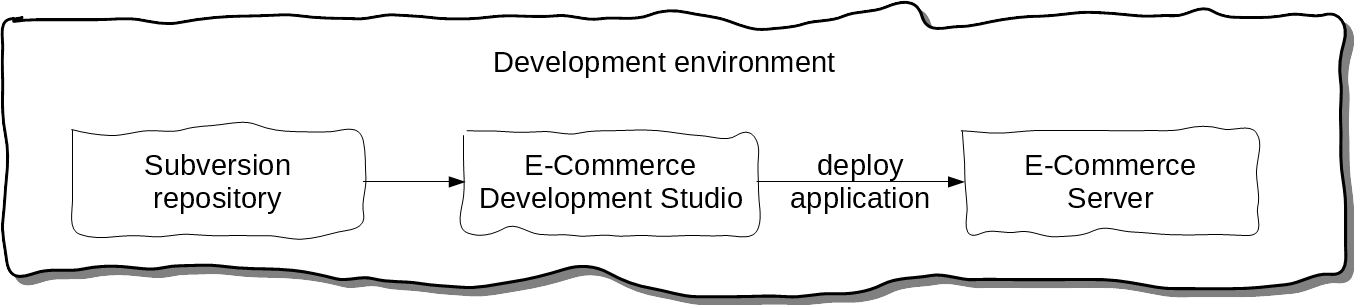
We have two different environments, development and production, that are physically isolated.
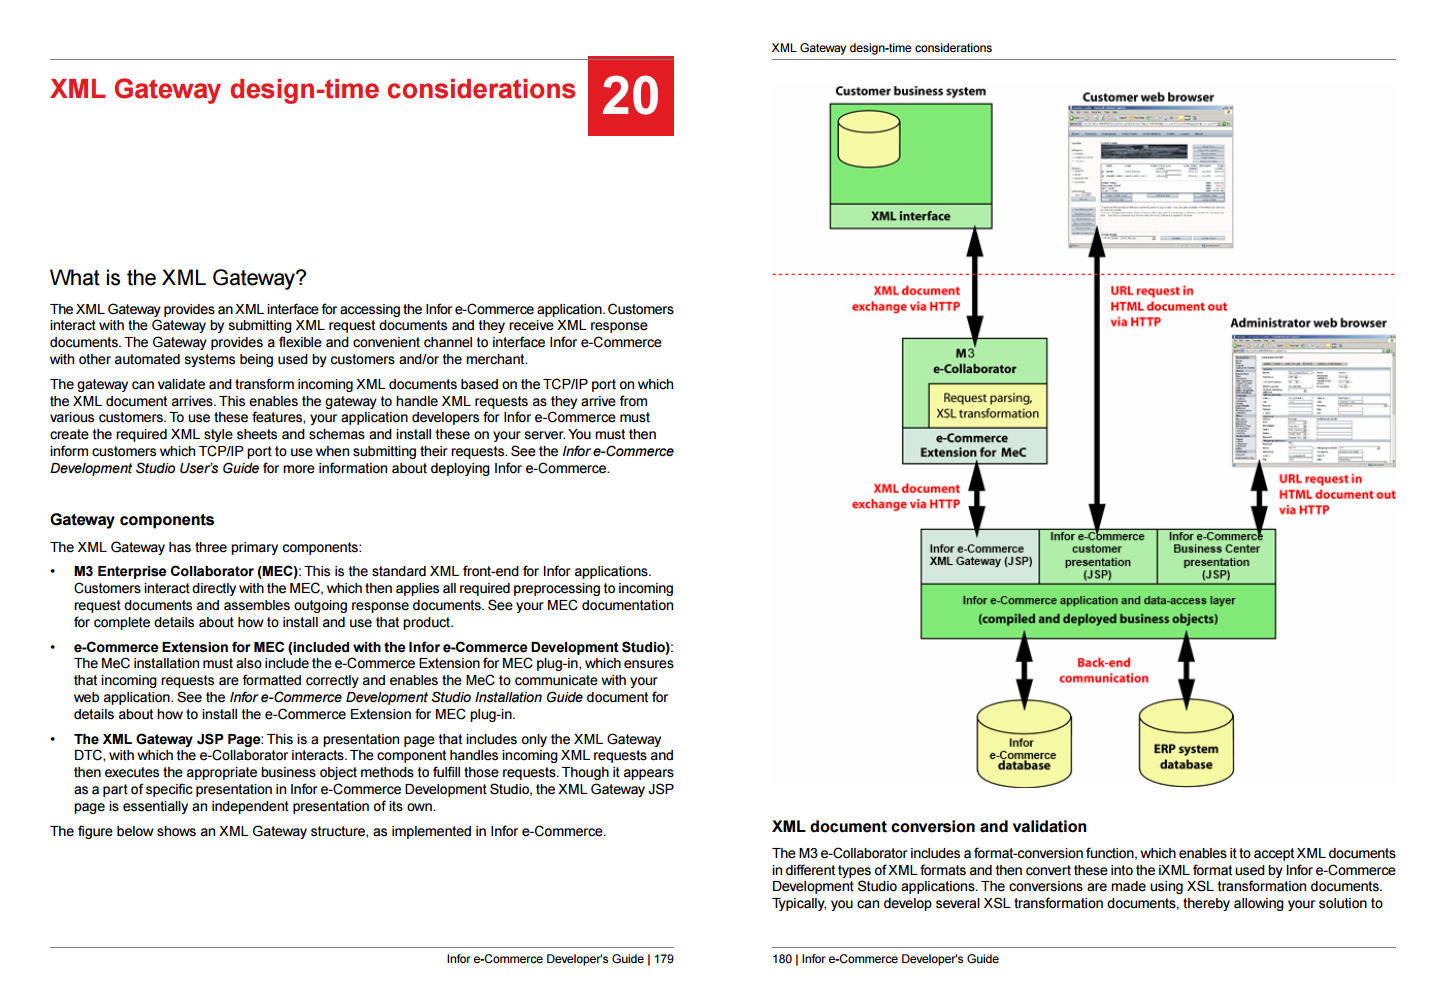
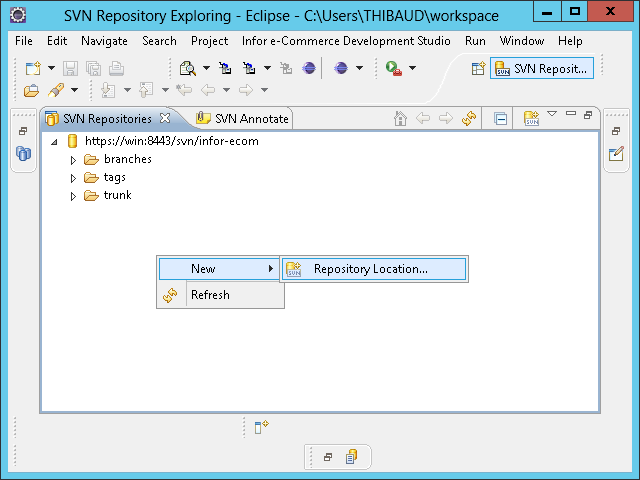
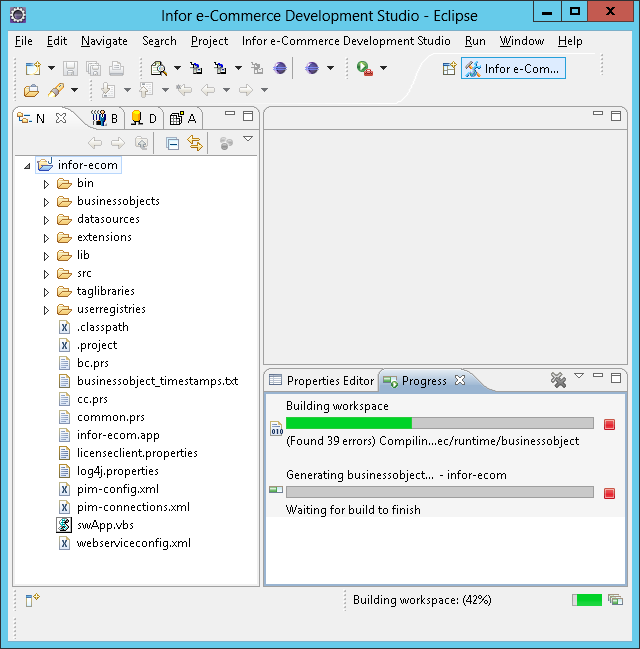
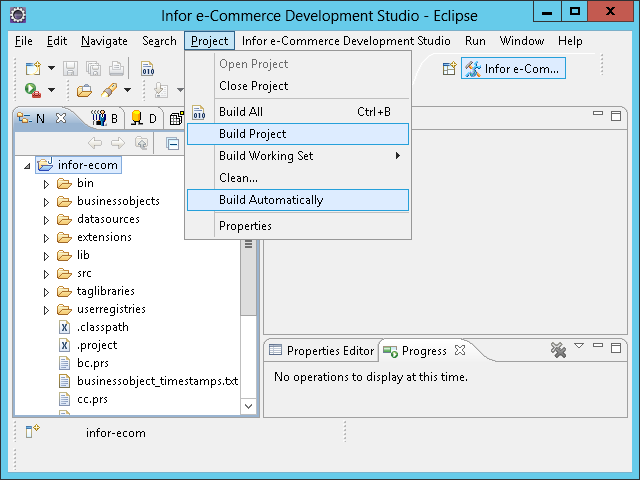
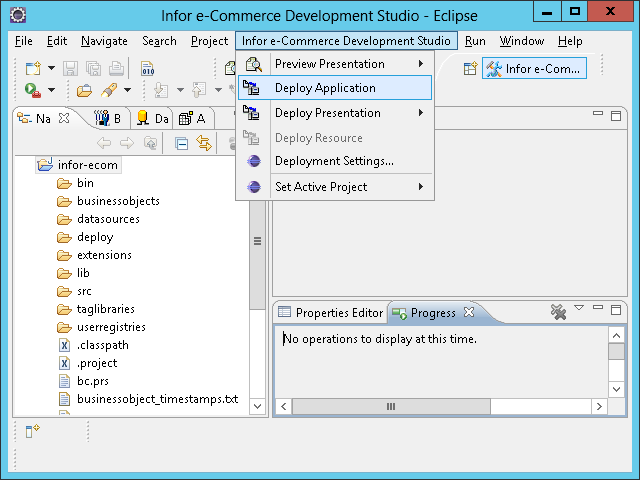
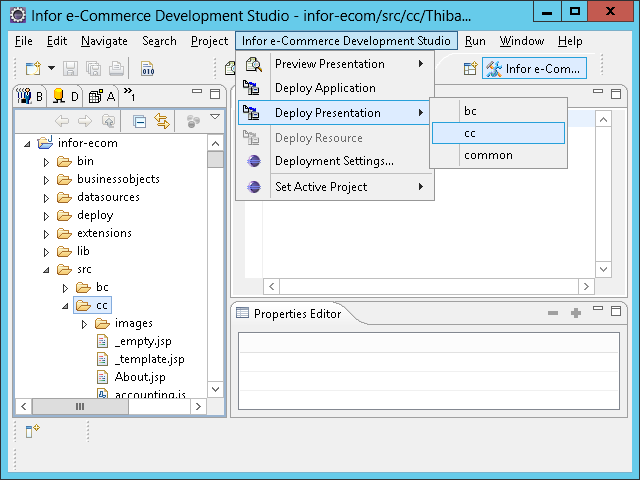
Our development environment is integrated: it has the e-Commerce Development Studio, the Subversion repository, and the e-Commerce Server, all on the same host. Thus, we can simply deploy the e-Commerce application from the Studio directly to the server.

Problem
Our production environment, on the other hand, is isolated from that network: it has the e-Commerce server, but it does not have the e-Commerce Development Studio, and it does not have access to the Subversion repository either. Then, how do we deploy the e-Commerce application?

Unskillful solution
We cannot deploy from the Studio because the development environment does not have access to the production network, the two are isolated from each other.
One solution is to install the Studio on the production environment and give it access to the Subversion repository, to mimic the development environment. But because the production environment is isolated, it does not have access to the Subversion repository, so we would have to make a copy of the source code.
I challenge this solution. Indeed, we would end up with double maintenance of the Studio and of the source code. We would risk generating a non-identical version of the application. And we would risk creating an accidental branch of the source code then have to resolve and merge. There ought to be a simpler and more elegant solution.
Documentation
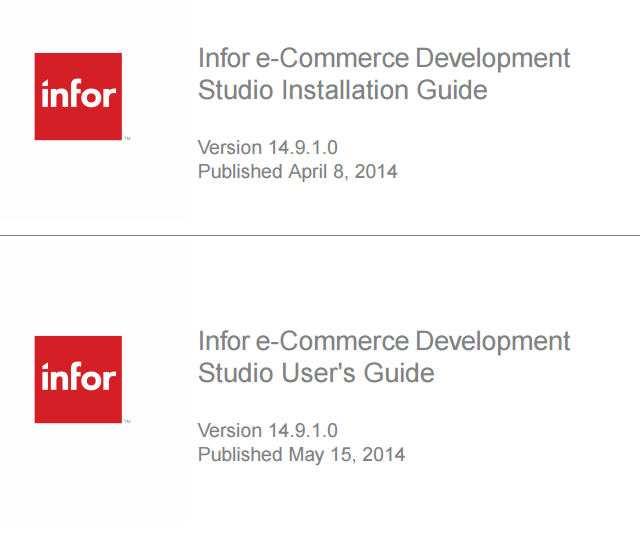
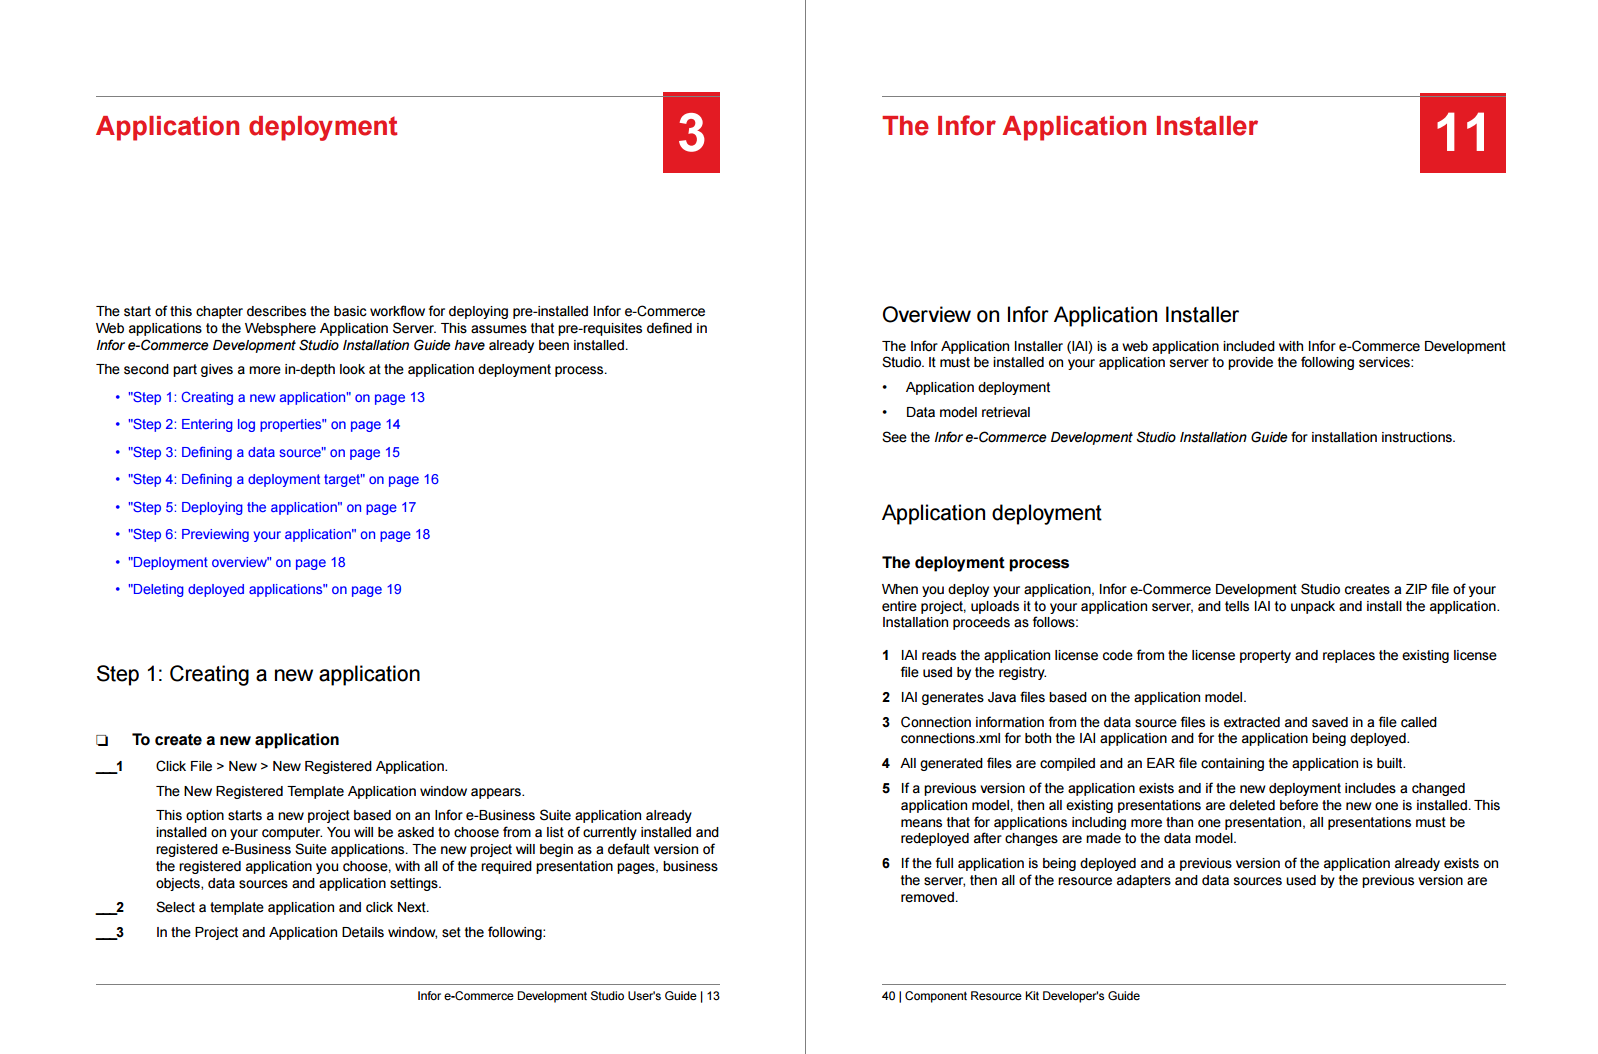
There are two e-Commerce documents that explain the application deployment process and how it uses the Infor Application Installer (IAI):
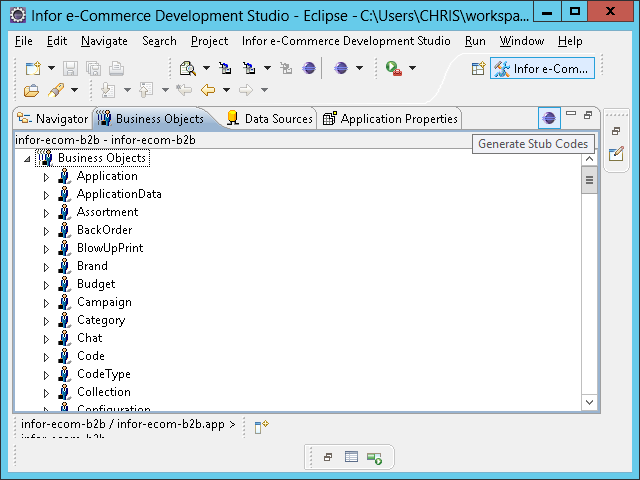
Development Studio
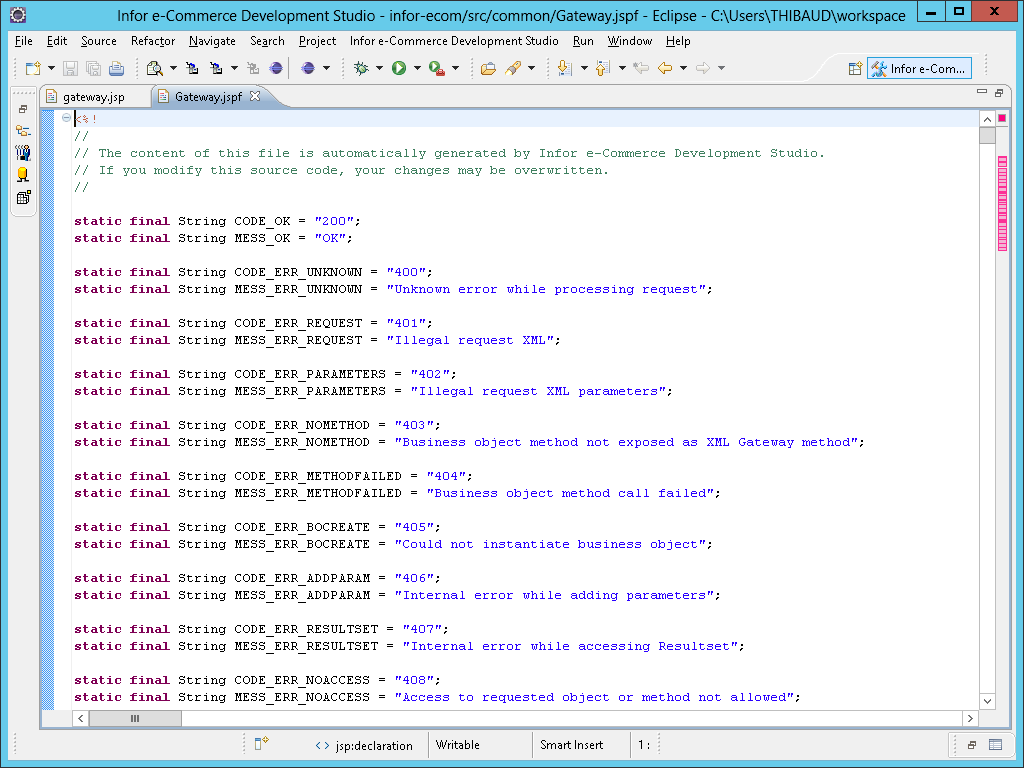
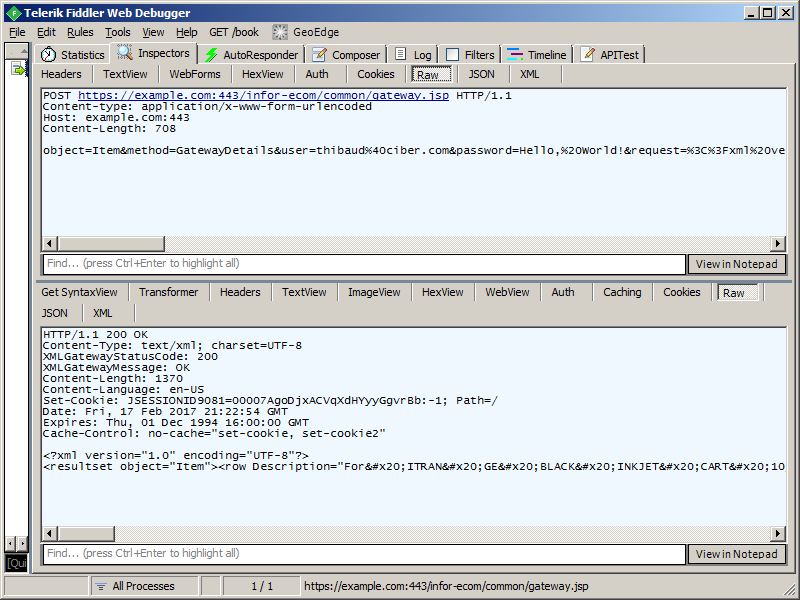
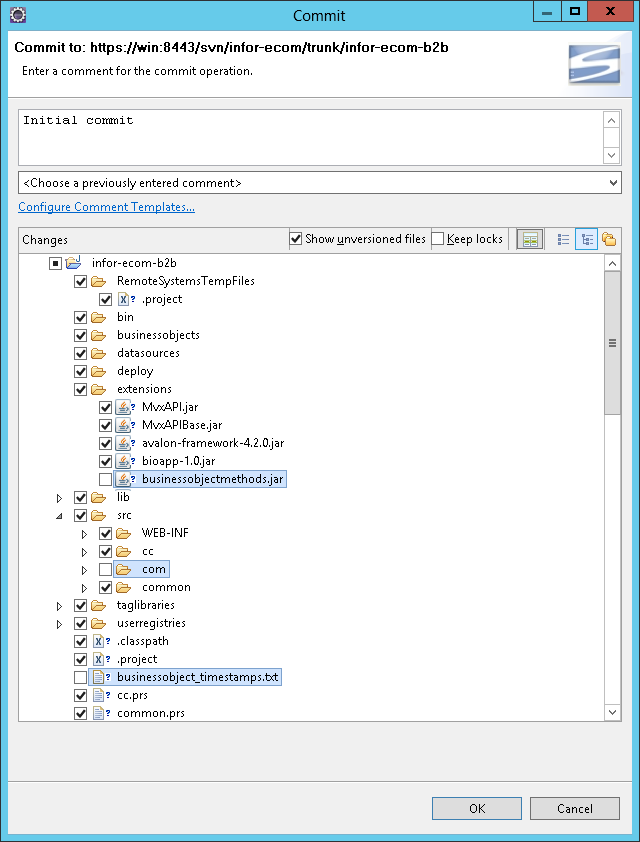
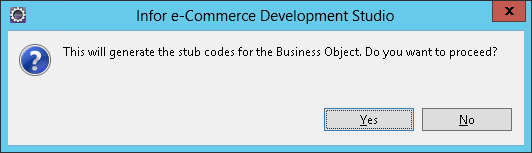
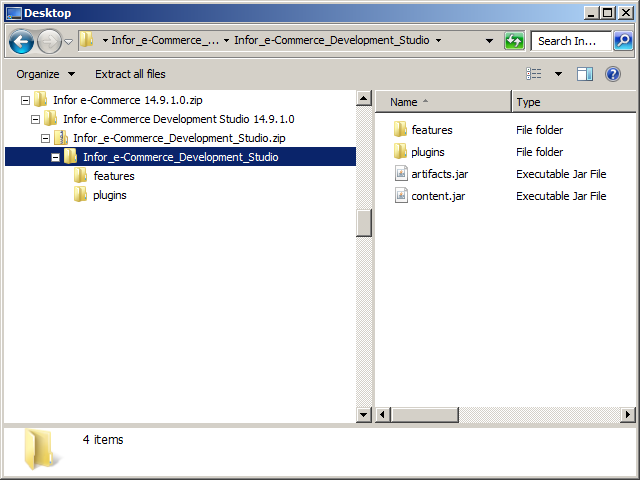
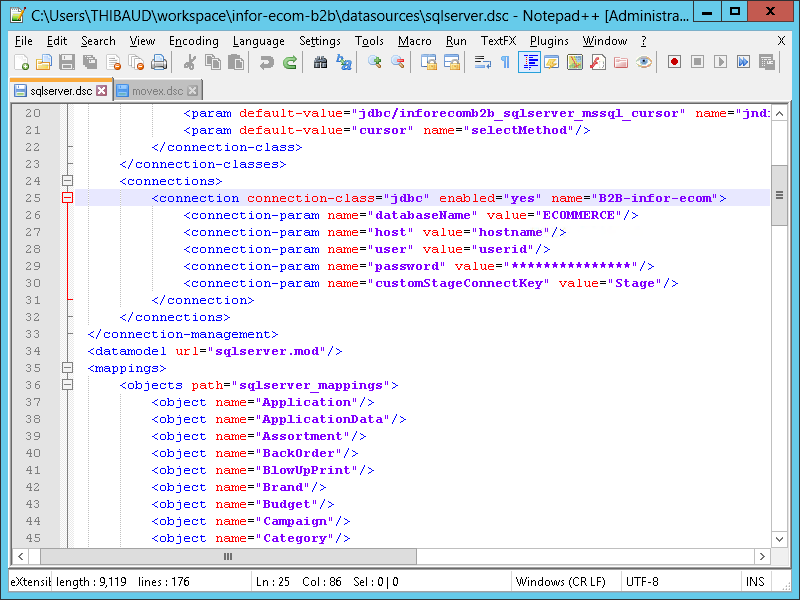
According to the documentation, the Studio generates this temporary ZIP file:
C:\Windows\Temp\laitmp\upload\infor-ecom-b2b.zip

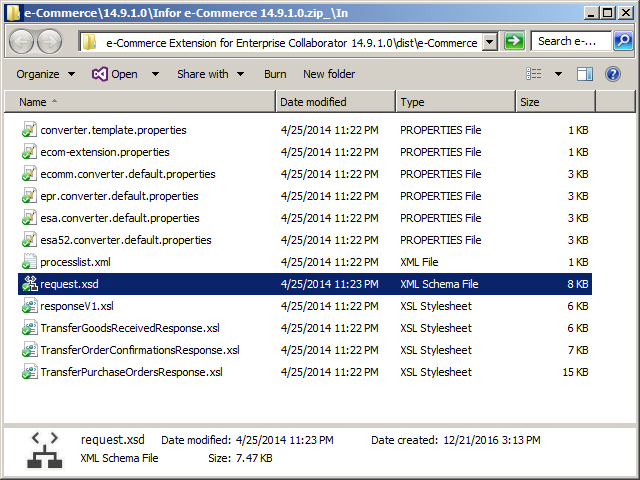
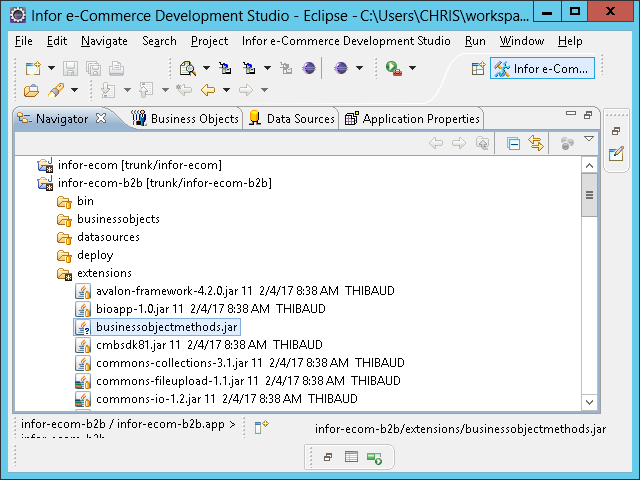
The ZIP file has a datasources folder with connection information in XML files (e.g. movex.dsc and sqlserver.dsc):

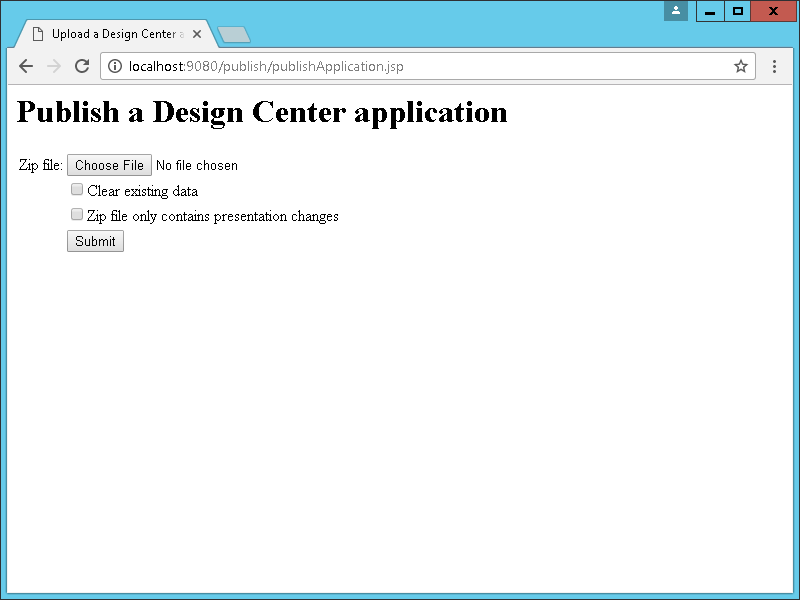
Infor Application Installer (IAI)
The Infor Application Installer (IAI) has the following Servlets and JSP to upload the ZIP file and deploy the application:


Proposed solution
The solution I propose is to use the Infor Application Installer (IAI) to deploy a modified version of the temporary ZIP file.
We would take the temporary ZIP file from the development environment, make a copy of it, unzip it, change the datasources connection information, re-zip it all, copy the resulting ZIP file to the production environment, and use the publish JSP to deploy it. We can even write a script to automatically duplicate the file, unzip it, change the connection information, and re-zip it, to reduce the number of manual steps and to avoid possible human errors.
I postulate this new solution is much simpler than the other one as we would just manipulate ZIP files, and we would not need to double maintain another Studio or another source code. And it is elegant because it is part of e-Commerce.
What others think
I asked others for opinion.
The experienced e-Commerce consultant disagrees. He says that all e-Commerce applications MUST be deployed from the Studio in order to make sure they are working properly, that it is the right way, that everyone uses this method, that there is no other method, and that Infor would not support another method.
Nonsense.
Similarly, Infor Support reached out to the development team who reached out to the e-Commerce product owner who said the ZIP file deployment can be done for DEVELOPMENT purposes only but it is NOT RECOMMENDED, that it can be explored at your own risk, and that support would NOT be provided if further issues or concerns occur.
Rubbish.
I do not believe either of these responses. e-Commerce is about 15 years old, and most of the original developers are no longer part of the company. I believe the responses above are from new developers that lack knowledge, and are not willing to try another way. Or perhaps there is a valid reason that they have not yet articulated.
Poll
What about YOU? Do YOU know the answer?
Let me know in the comments below, please. Thank you.