Here is an illustrated guide on how to install Infor e-Commerce Development Studio.
History
Infor e-Commerce is the B2C and B2B solution for Infor M3. Here is some history I found from the archives. The product was started by Danish-based Catalog-International in 1997, which was acquired by Swedish-based Intentia International in 2002, which was acquired by US-based Lawson Software in 2005, which was acquired by Infor in 2011. Over the years, it has survived many cycles of re-branding, refactoring, re-integration, and feature changes. Its various names have been: Ideal Commerce Suite (Ideal Seller & Ideal Procurement), Movex e-Sales, Lawson e-Sales, Infor e-Commerce, and now Infor Rythm on Infor CloudSuite. The Development Studio is the current plugin for Eclipse to develop for e-Commerce. It is loosely inherited from the old Cat@log Builder and ide@l Design Center.
Documentation
You can download the documentation from Infor Xtreme > Search > Browse Documentation > Show All Product Lines > Infor e-Commerce:

I will follow the Infor e-Commerce Development Studio Installation Guide and User’s Guide. They do not have screenshots, so I will show you screenshots here:
I will assume the Infor e-Commerce server is already installed and setup with the SQL Server database, IBM WebSphere Application Server (WAS), and IBM HTTP Server (IHS). I will install e-Commerce Development Studio version 14.9.1.0 on a Windows x64. There are strict system requirements for ancient versions of software.
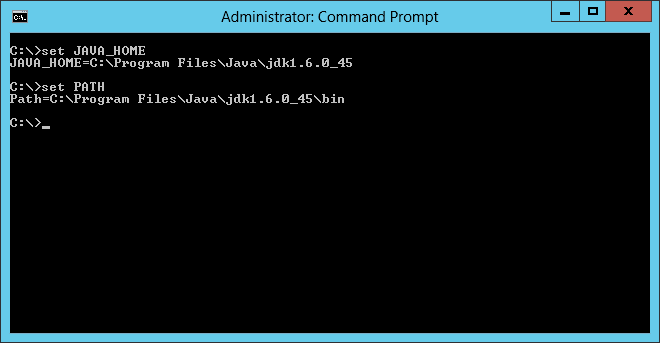
1. Java Development Kit
Install the Java SE Development Kit (JDK) version 1.6.0_45. Set the environment variables JAVA_HOME and PATH:
2. Eclipse IDE
Install Eclipse IDE for Java EE Developers version 3.7.1:
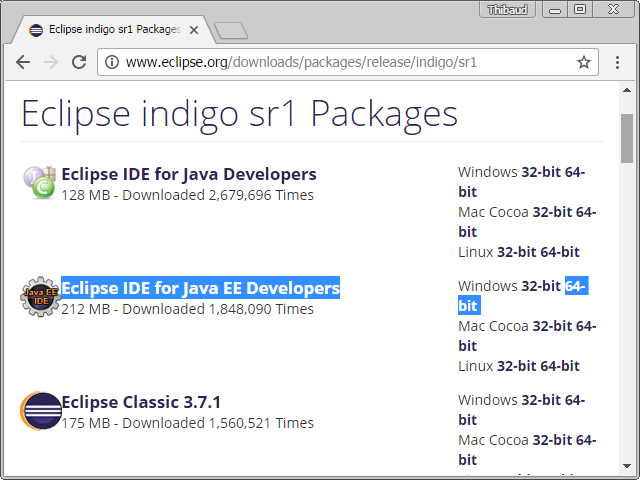
Note: I had used the lasted Eclipse version 4.6, but e-Commerce Development Studio threw an error during installation, and I resolved it by reverting to the old Eclipse version 3.7.1:
Missing requirement: DesignCenter Plug-in 1.0.0 (com.lawson.eap.designcenter 1.0.0) requires 'bundle org.eclipse.core.runtime.compatibility 3.2.100' but it could not be found

To install Eclipse, simply download and unzip, e.g. C:\e-Commerce\eclipse\ :

Then, launch Eclipse, and select a workspace, e.g. C:\Users\X\workspace\ :

You can verify the result in Eclipse > About:

Change the Eclipse > Preferences > Java > Compiler, to JDK compliance 1.6:

By default it uses default JDK compliance 1.2, but then e-Commerce will throw compilation errors:
The return type is incompatible with AbstractSelectComponent.getResultset

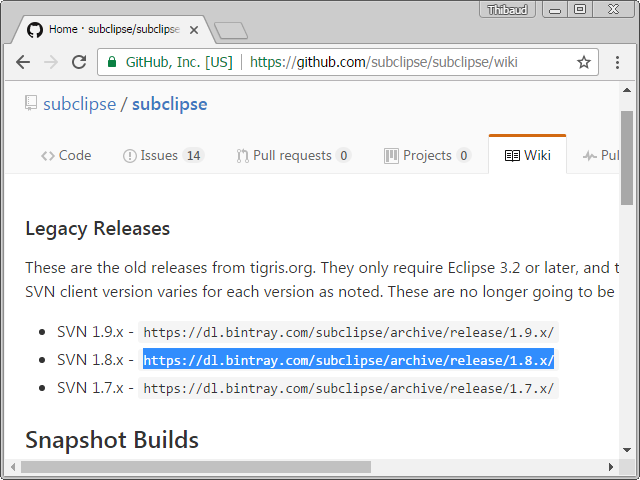
3. Subclipse plugin
Install the Subclipse plugin version 1.8.x for Eclipse, even if you will not use it:

Note: If you do not install Subclipse – for instance if you want to install Git instead – e-Commerce Development Studio will throw an error during installation:
Missing requirement: DesignCenter Plug-in 1.0.0 (com.lawson.eap.designcenter 1.0.0) requires 'bundle org.tigris.subversion.subclipse.core 1.6.18' but it could not be found:

Note: I used the latest Subclipse version 4.2.x, but Eclipse threw an error, and I resolved it by reverting to the old Subclipse version 1.8.x:
Subclipse talks to Subversion via a Java API that requires access to native libraries. Those libraries were either not found or an incompatible version was loaded.

4. e-Commerce Development Studio plugin
Download the Infor e-Commerce Development Studio plugin from Infor Xtreme > Downloads > Products > Customer Relationship Management > Infor e-Commerce:

Unzip the download, and install the plugin:
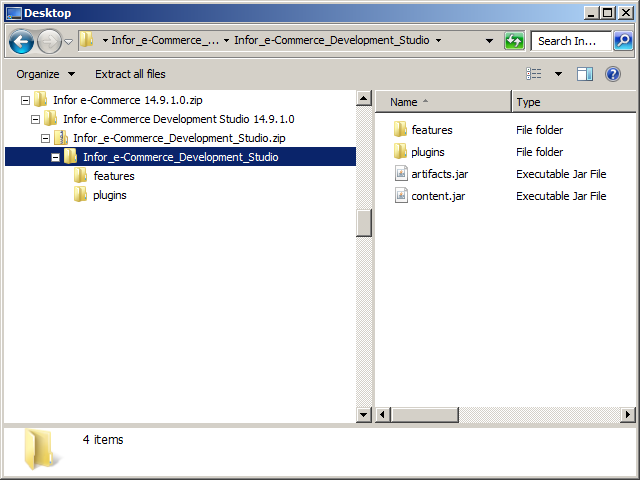

Verify the installation details:

In Window > Open Perspectives, select the Infor e-Commerce Development Studio perspective:

e-Commerce Development Studio is ready to be used.
5. Infor Application Installer (IAI)
Install the Infor Application Installer (IAI):

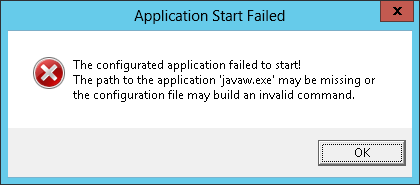
Note: I had an error earlier because of the missing JDK in the PATH:

Select Install IAI:

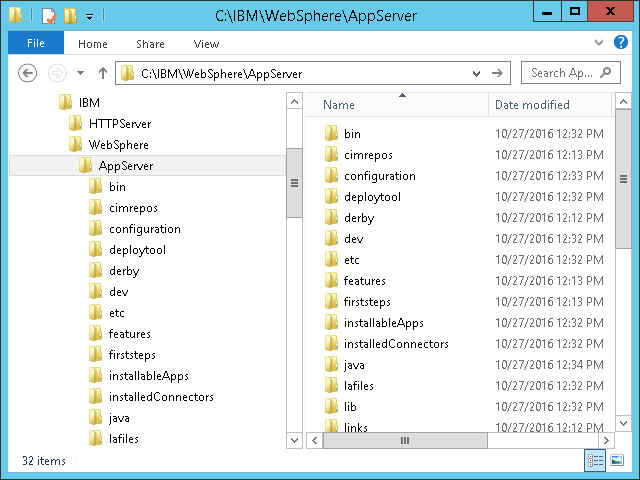
Find the WAS folder on your e-Commerce server, e.g. C:\IBM\WebSphere\AppServer\ :
In IAI, click Browse, and select the WAS folder. IAI will automatically find the profile (e.g. AppSrv01), cell name (e.g. Node01Cell), node name (e.g. Node01), and internal server name (e.g. server1). Set the Admin login name and password, and click Start:


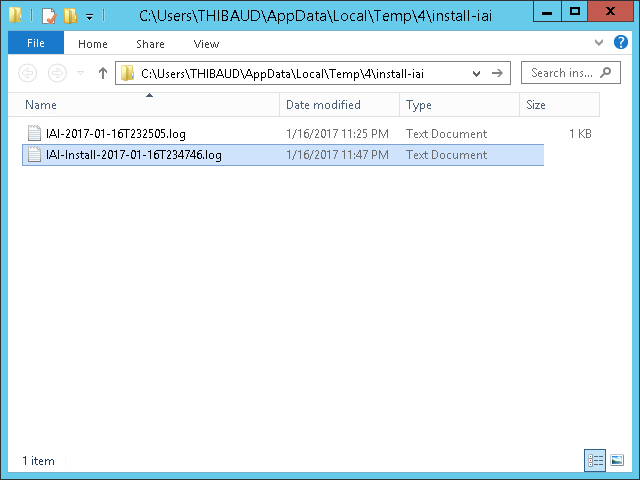
You can verify the installation log in the temp folder, e.g. C:\Users\X\AppData\Local\Temp\Y\install-iai\ :
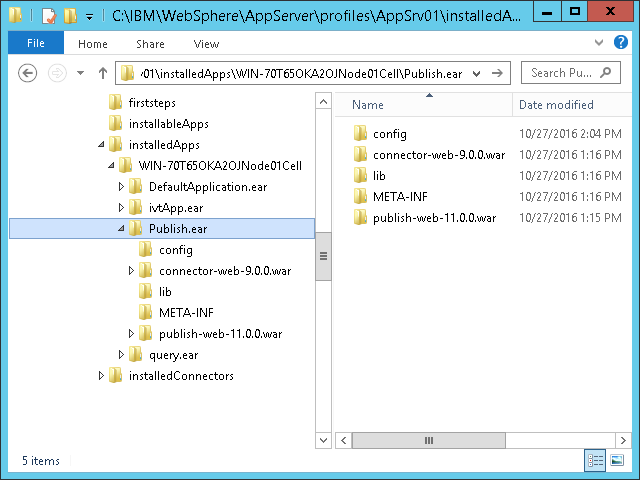
You can verify the resulting installation folder, e.g. C:\IBM\WebSphere\AppServer\profiles\AppSrv01\installedApps\WIN-70T65OKA2OJNode01Cell\Publish.ear\ :
You can verify the IAI About page, e.g. http://localhost:9080/publish/About :

The Application Installer is now ready to deploy e-Commerce applications.
6. New Application
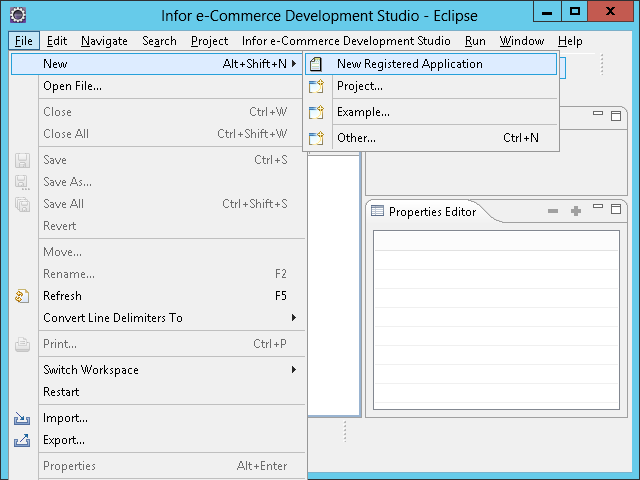
Back in Eclipse, select File > New > New Registered Application:

Enter a Project Name and Application Name, e.g. infor-ecom:

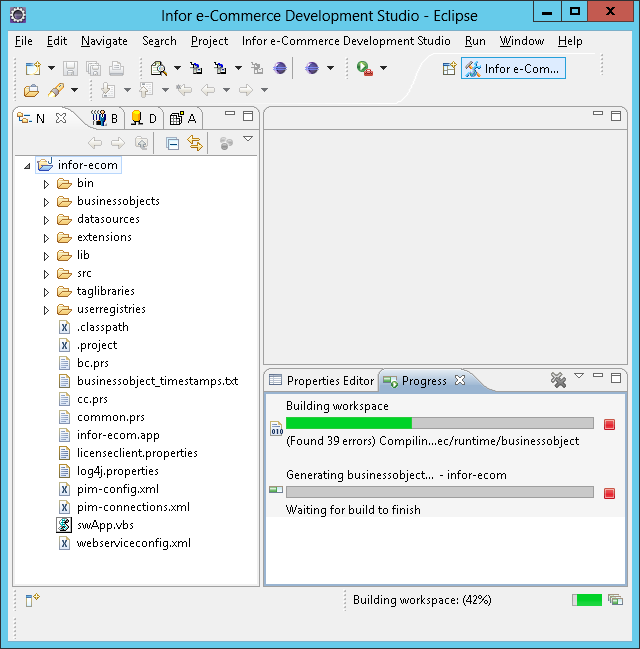
It will create the new project, and it will automatically build the workspace and generate the file businessobjectmethods.jar, wait for it to finish:
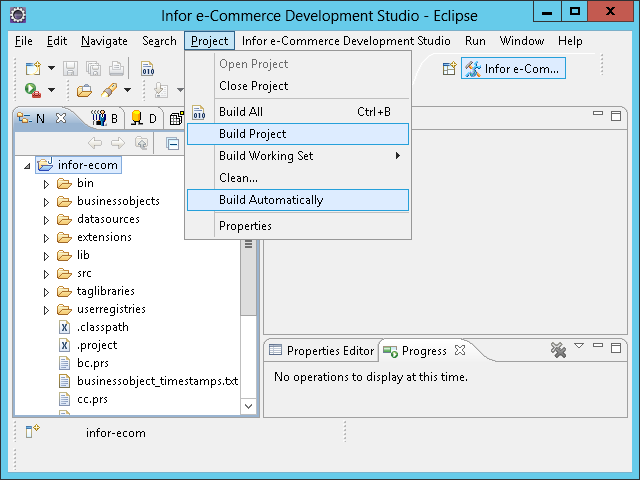
Whenever a timestamp changes in the project, e-Commerce Development Studio will re-build the project, and it can be time consuming and frustrating. To avoid waiting unnecessarily, un-check the Project > Build Automatically, and remember to manually Build Project before deploying:
Go to menu Infor e-Commerce Development Studio > Set Active Project, and select the project:

Go to menu Infor e-Commerce Development Studio > Deployment Settings, and enter the Deployment Target Properties, with Web Server Name as defined in WAS:


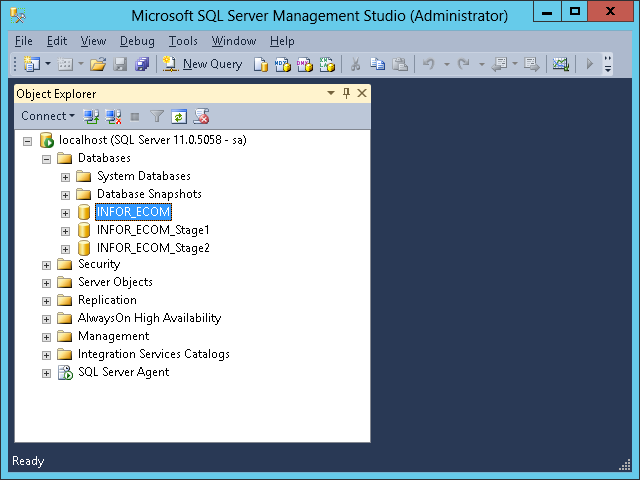
Go to tab Data Sources > MS SQL Server > sqlserver > right-click > Connection, and add a new connection, with the e-Commerce database information:


The e-Commerce application is now ready to be deployed.
7. Deploy
Build the Project, and wait for the build to finish.
In the menu Infor e-Commerce Development Studio, select Deploy Application:
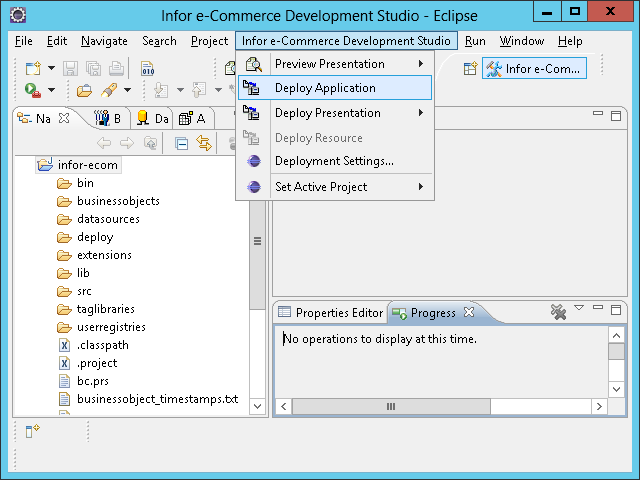

The e-Commerce application is now deployed on WAS, and ready to use. There is no need to restart WAS.
8. Result
Test the resulting e-Commerce application.
Customer Center:
http://localhost:9080/infor-ecom/cc

Busines Center:
http://localhost:9080/infor-ecom/bc

We now have a working e-Commerce Development Studio, project, and website to develop with.
9. Everyday development
For everyday development:
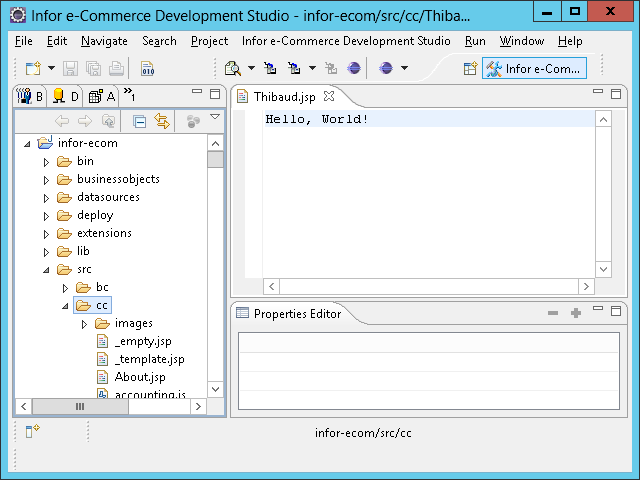
We can now modify the JSP, CSS, HTML, and other files in the src folder, re-build the project, and re-deploy as needed:
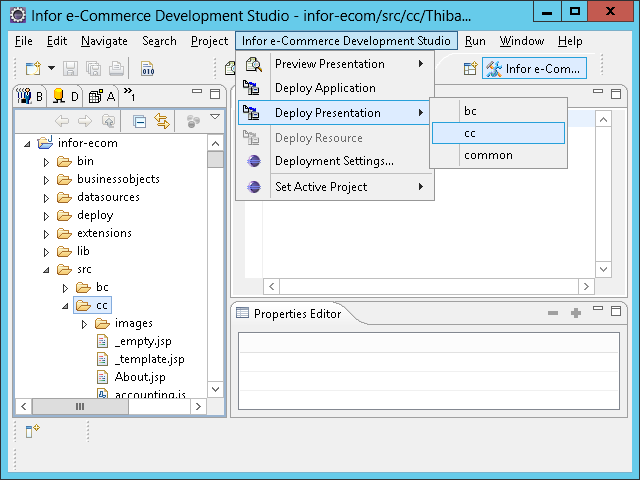
It is quicker to deploy just the presentation, either bc, cc, or common, depending on where we modified the files, rather than re-deploying the entire application:
Remember to set the active project again after each time you exit Eclipse.
Future work
In future work, I would like to:
- Setup a B2B application (it involves swApp.vbs), in addition to the default B2C
- Setup a team environment with Subversion for multiple developers to collaborate on the same e-Commerce application at the same time without overriding each other.
- Setup logging, troubleshooting, and Java debugging for e-Commerce.
- Deploy multiple applications on the same WAS.
- Develop JSP that call Business Objects.
- Use the XML Gateway.
- Use Git instead of Subversion.
- Set the Active Project by default.
Conclusion
That was a guide on how to install Infor e-Commerce Development Studio, with lots of illustrations to compensate for the lack of screenshots from the Infor documentation. e-Commerce Development Studio relies on many standards (J2EE, Eclipse, Subversion, etc.), as such it is familiar territory to install. But it requires ancient versions of its software requirements that if not met will cause errors. And the mystery of the e-Commerce Development Studio’s automatic build, at unexpected times, and lengthy, is a known frustration.
That’s it!
Please like, comment, share, subscribe, and come author with us.

UPDATE: added future work: use Git instead of Subversion, and set the Active Project by default.
LikeLike
UPDATE: added future work: setup B2B application
LikeLike
What if a customer has old ibrix files & workplace installed – can I have the old ibrix editor somewhere?
LikeLike