I just learned a technique to develop a custom application for the Infor Grid. The idea is to build a simple J2EE app using the Infor Grid as an application server. My understanding is that the Infor Grid is closed, and that this technique is currently unofficial, undocumented and unsupported. I will label this technique as a hack for now until we establish a recommended path.
History
In the past, official products such as Movex Workplace (MWP) and IBrix were built for IBM WebSphere Application Server (WAS), and software developers that needed custom J2EE applications unofficially deployed their code in that same WAS; it was a somewhat symbiotic relationship. With the switch to the Infor Grid, WAS is gone and replaced by a cloud of distributed servers with embedded Jetty – that is a leap forward for M3 – but there is no official solution for custom apps.
As a workaround, we continued to sideload our JSP and HTML files in the MNE folder of the Grid alongside Smart Office Scripts; that was a parasitic relationship subject to potential loss during upgrades. There is also the option to install our own separate application server like Microsoft IIS, but there are advantages to having a unified solution. I know of the Grid Development Tools for Eclipse and the Grid Application Developer Guide and tutorials, but to my knowledge they are internal to Infor products and not available for developing custom applications.
A former colleague of mine found an alternative workaround. He told me he had managed to create a GAR file for the Infor Grid, so now he has an application called “intentia” where he puts the JSP and HTML files instead of the MNE folder. He said it involved decompiling one of the Grid applications and then compiling it back with the new application name. I invited him to write a blog post about his solution, but he responded because it is unofficial he did not want to post it and wanted to remain anonymous. After a couple of email exchanges discussing a disclaimer, he accepted that I post his solution and acknowledge him for his contribution. So thank you, Jonathan Amiran of Intentia Israel.
Call for action
This is my call to Infor Product Development. If you are reading this, please jailbreak the Grid, release the tools and documentation and embrace the community. Help us reach a mutually beneficial relationship where great ideas can get out of anonymity and flourish. I understand there are risks involved in opening up a sensitive system to all sorts of inexperienced developers and misuse as that leads to you having to assume the role of support and troubleshooting until you can prove negligence on the part of the third-party developer. But don’t be closed. Share the good practices with us, certify us, or if it’s a risk, build a system that defends against byzantine failures from third-party developers.
For you readers, please call your Infor representatives and tell them the importance of being open and working together. Meanwhile, please understand the following hack has not yet been peer reviewed so it may be either favorable or damaging.
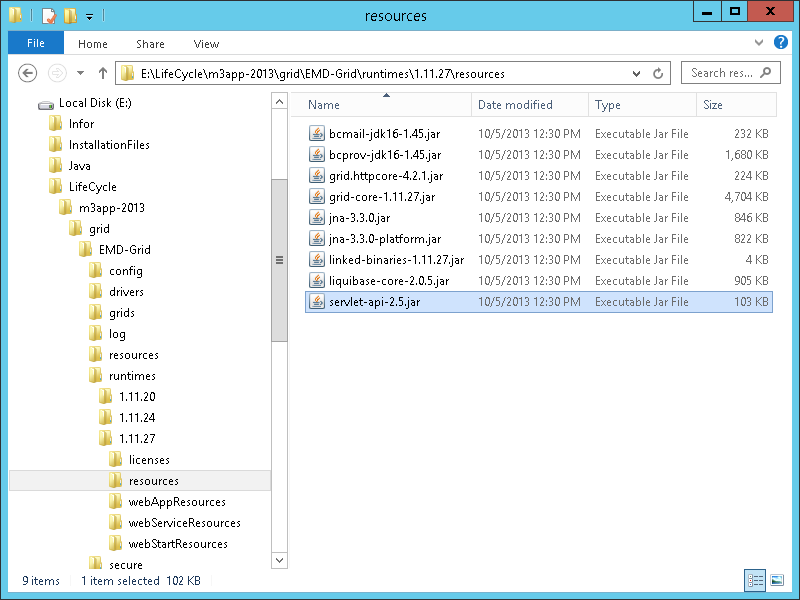
Find the Grid core
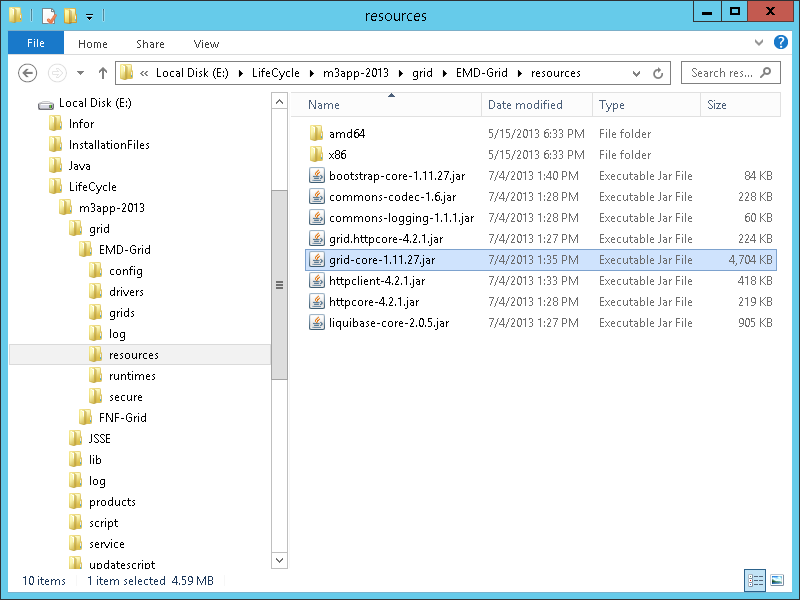
First, go to your LifeCycle Manager server and find the JAR file for the Grid core:
E:\LifeCycle\<host>\grid\<grid>\resources\grid-core-1.11.27.jar

Create the application entry point
Then, create a simple Java class that implements ApplicationEntryPointEx:
package net.company.your;

import com.lawson.grid.node.application.ApplicationEntryPointEx;
import com.lawson.grid.node.application.ApplicationEntryPointEx.GlobalState;
import com.lawson.grid.node.application.ApplicationEntryPointEx.RemainingTaskCount;
import com.lawson.grid.node.application.ModuleContext;

public class HelloWorld implements ApplicationEntryPointEx {

	private boolean isInitialized = false;

	public boolean startModule(ModuleContext paramModuleContext) {
		return true;
	}

	public void onlineNotification() {
		this.isInitialized = true;
	}

	public void offlineNotification() {
		this.isInitialized = false;
	}

	public void stopModule() {
		this.isInitialized = false;
	}

	public ApplicationEntryPointEx.RemainingTaskCount getRemainingTaskCount() {
		return null;
	}

	public ApplicationEntryPointEx.GlobalState getGlobalState() {
		if (this.isInitialized) {
			return new ApplicationEntryPointEx.GlobalState(true, new String[] { "OK" });
		}
		return new ApplicationEntryPointEx.GlobalState(false, new String[] { "Initalizing" });
	}
}
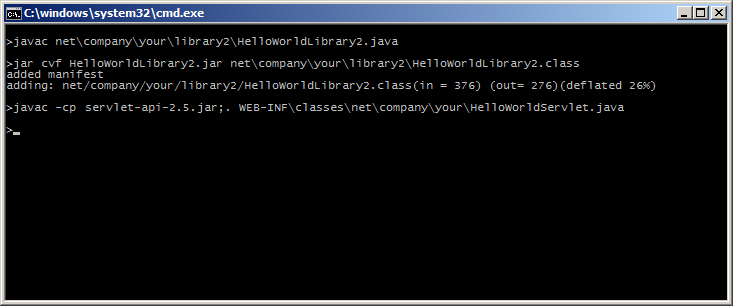
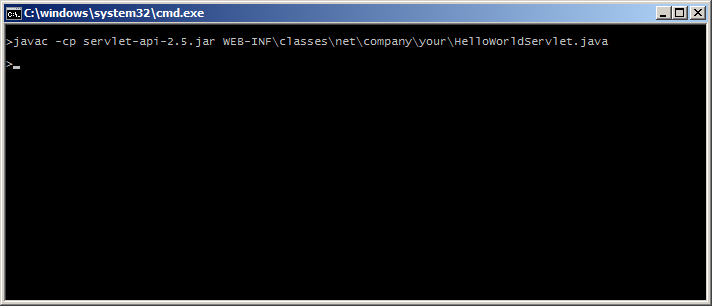
And compile it with:
javac -cp grid-core-1.11.27.jar net\company\your\HelloWorld.java
Create the application deployment descriptor
Create the application deployment descriptor in a file GRID-INF\application.xml:
<?xml version="1.0" encoding="UTF-8" standalone="no"?>
<application xmlns="http://schemas.lawson.com/grid/configuration_v3" xmlns:xsi="http://www.w3.org/2001/XMLSchema-instance" typeName="HelloWorld" version="10.1.0.1" xsi:schemaLocation="http://schemas.lawson.com/grid/configuration_v3 http://schemas.lawson.com/grid/configuration_v3">
<description>HelloWorld Grid Example</description>
<moduleDefinitions>
<moduleDefinition typeName="HelloWorld" entryPointClass="net.company.your.HelloWorld" horizontallyScalable="false" verticallyScalable="false">
<webApp name="HelloWorld" distributedSessions="false" sessionAffinity="true" />
</moduleDefinition>
</moduleDefinitions>
<nodeTypes>
<nodeType name="HelloWorld">
<module typeName="HelloWorld" />
</nodeType>
</nodeTypes>
<connectionDispatchers/>
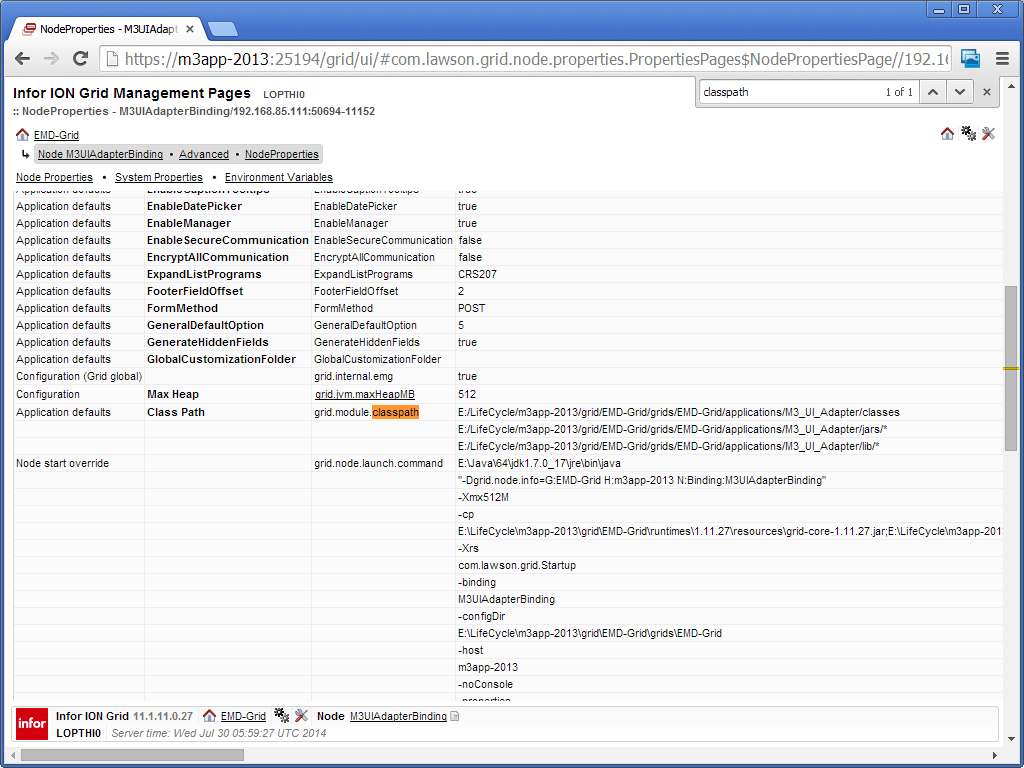
<properties>
<propertyList name="grid.module.classpath">
<value>classes</value>
<value>jars/*</value>
</propertyList>
<property name="grid.jvm.maxHeapMB">64</property>
</properties>
</application>
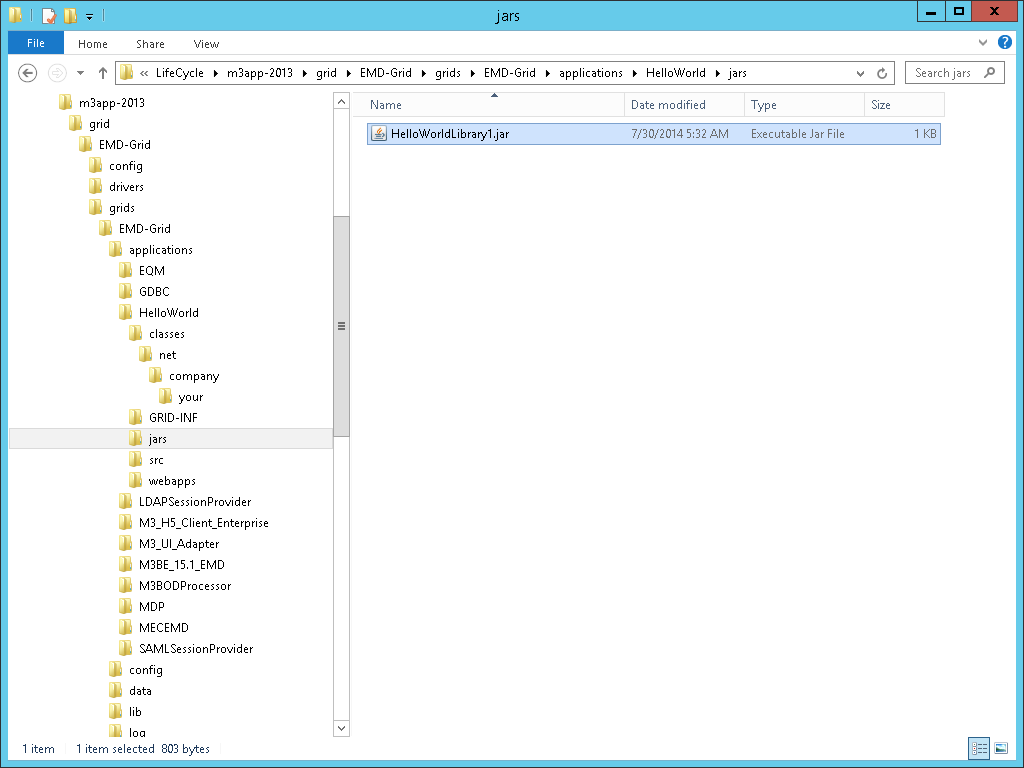
Add the resources
Add the static (HTML, images, CSS, JavaScript, etc.) and dynamic (JSP) resources in a webapps sub-folder, for example index.jsp:
<%@ page import="java.util.*" %>
<!DOCTYPE html>
<html>
   <body>Hello World! This is my first Grid application. The time is <%=new Date()%></body>
</html>
With the Infor Grid we don’t have a web server plugin to optimize serving static from dynamic content by URL path so I keep everything in the same folder.
Zip to a Grid archive
Create a file and folder structure like so:
+---classes
| \---net
| \---company
| \---your
| HelloWorld.class
|
+---GRID-INF
| application.xml
|
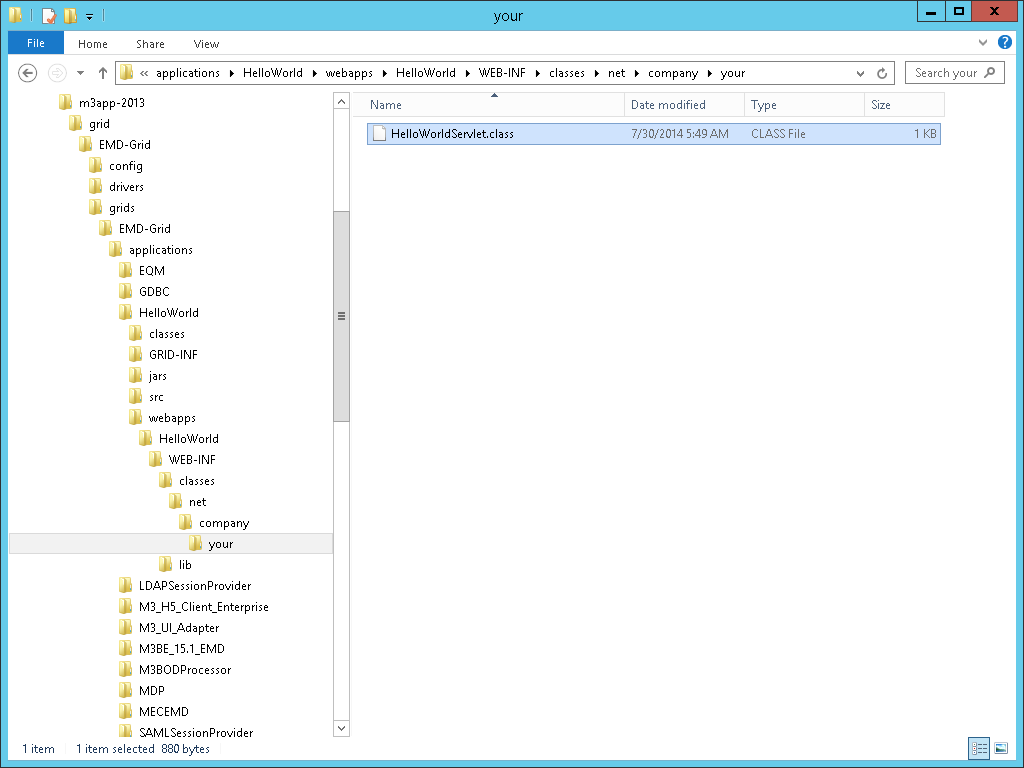
\---webapps
\---HelloWorld
image.png
index.jsp
script.js
static.html
style.css
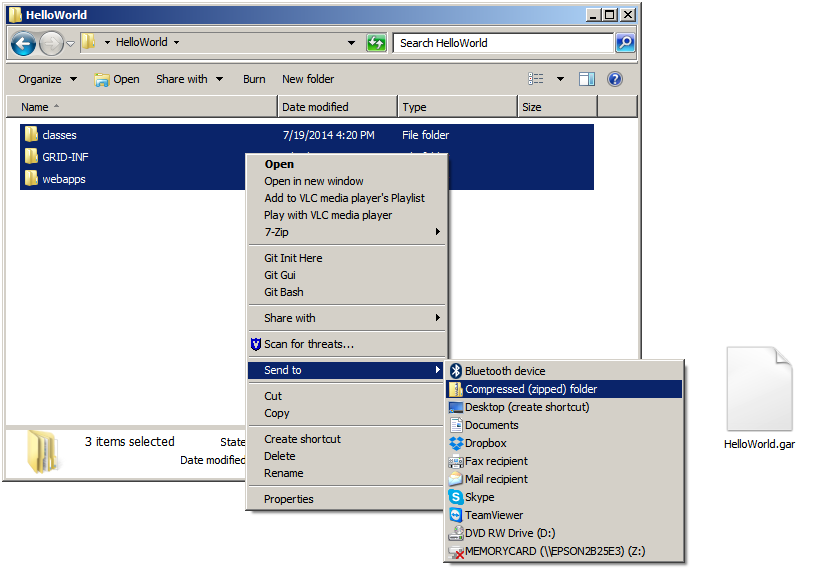
ZIP the contents of the folder into a file and rename the file extension to .gar (make sure to ZIP the contents of the folder and not the folder itself or you will end up with an incorrect folder structure):

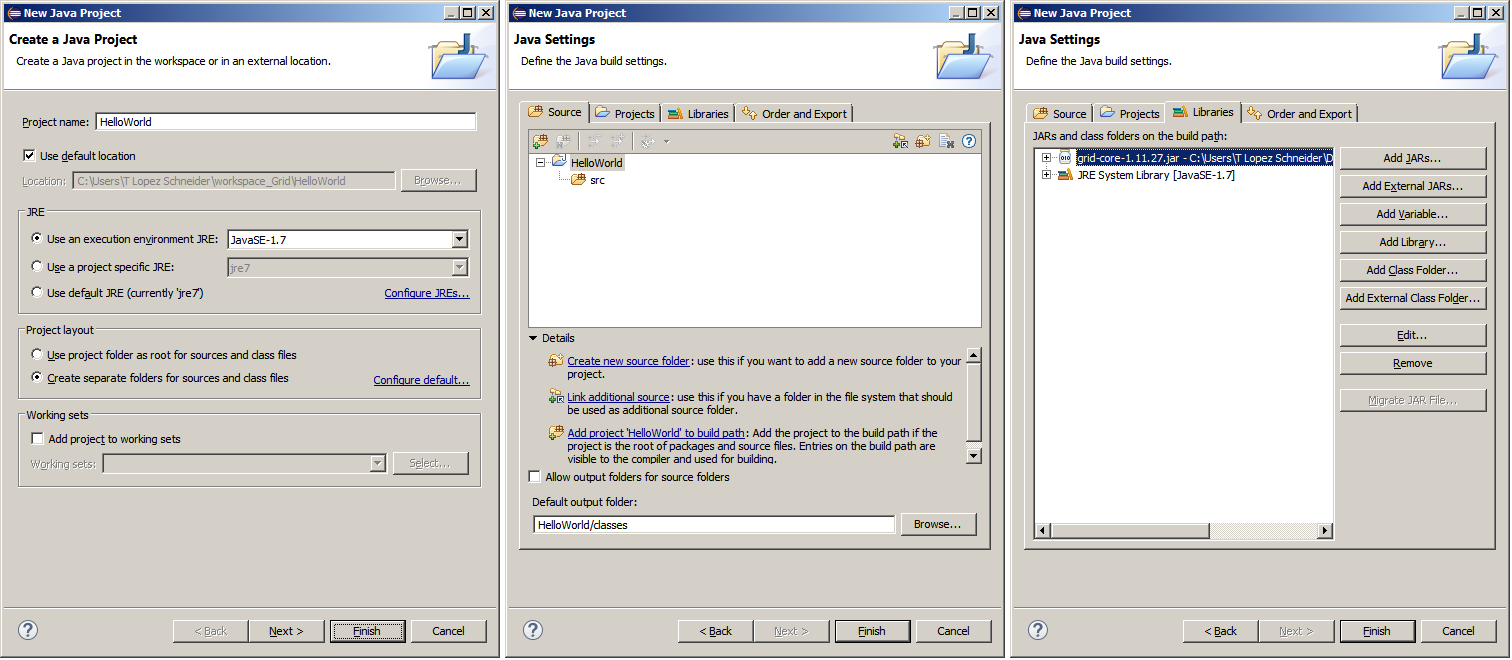
With Eclipse
You can also use Eclipse for this.
For that, create a new Java project, change the Default output folder from /bin to /classes, and add the grid-core as an external JAR:

Create the file and folder structure as explained above:

ZIP the entire contents of the folder and change the file extension to .gar as explained above:

Install the application
- Go to the Grid Management Pages > Advanced > Configuration > Configuration Manager > Applications and select Install New Application:

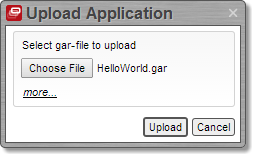
- Click Upload, browse to your GAR file, and click Upload:
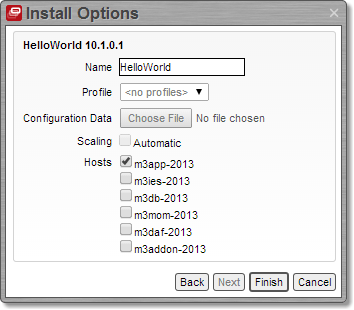
- Select the hosts on which to deploy the app and click Finish:
- It will say “Operation completed.” Click Close:

- It will say “The application has no bindings defined”. Select Fix this problem:

- Enter Min 1 and Initial 1 and click Add Binding:

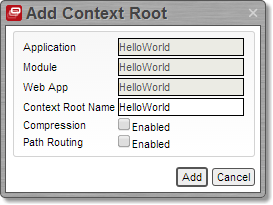
- It will say “The web application ‘HelloWorld’ of module ‘HelloWorld’ has no context root defined”. Select Fix this problem:

- Enter a Context Root Name and click Add:
- It will say “There are unsaved changes”. Click Save:

- Click Save to confirm the changes:

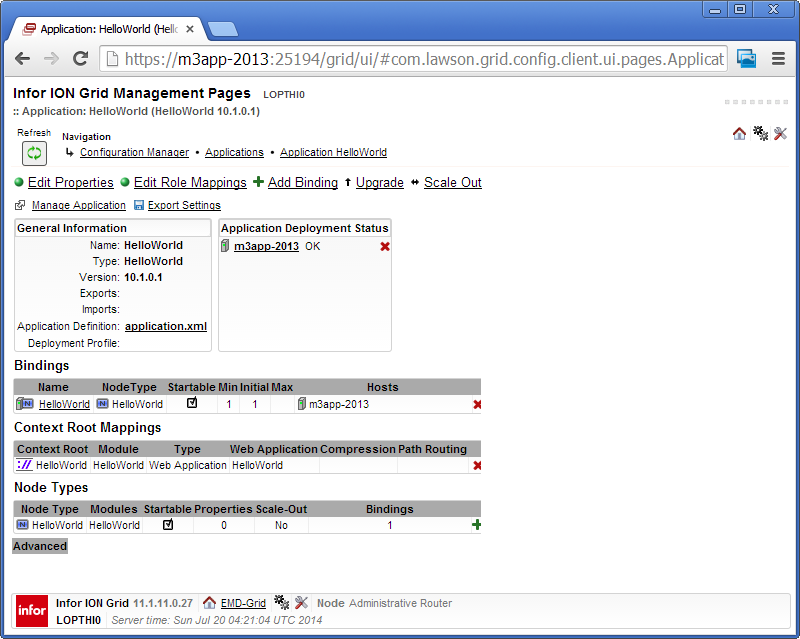
- The application is now deployed on the Infor Grid:

Result
Now we can try the application by going to /HelloWorld/:

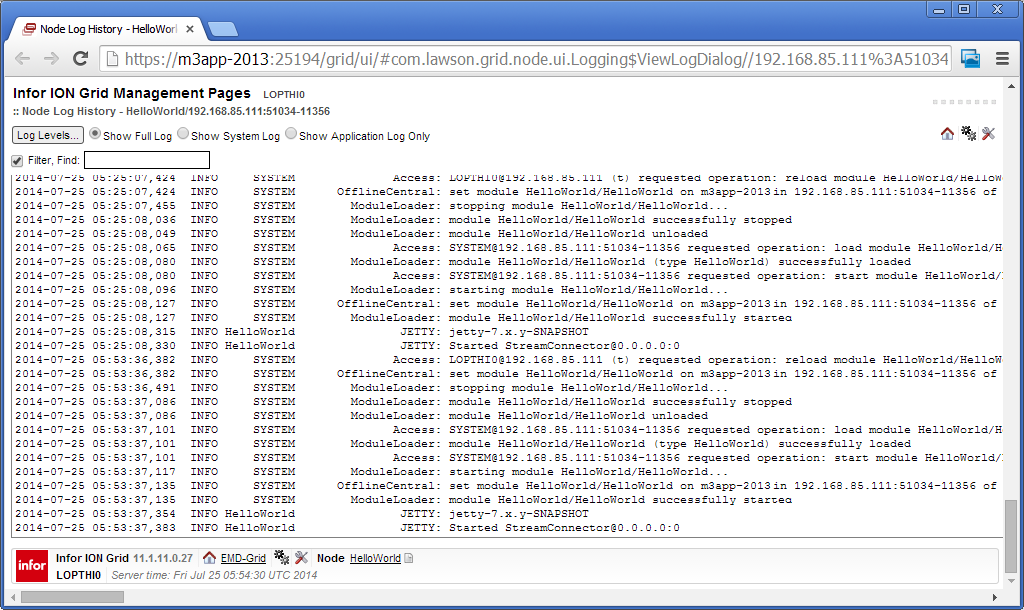
My understanding of the Infor Grid is that applications run in a node, and that a node runs in its own JVM (probably to avoid collateral damage if the app crashes). We can confirm this by finding our app in the server’s Windows Task Manager:

Updates
[UPDATED 2014-07-24]
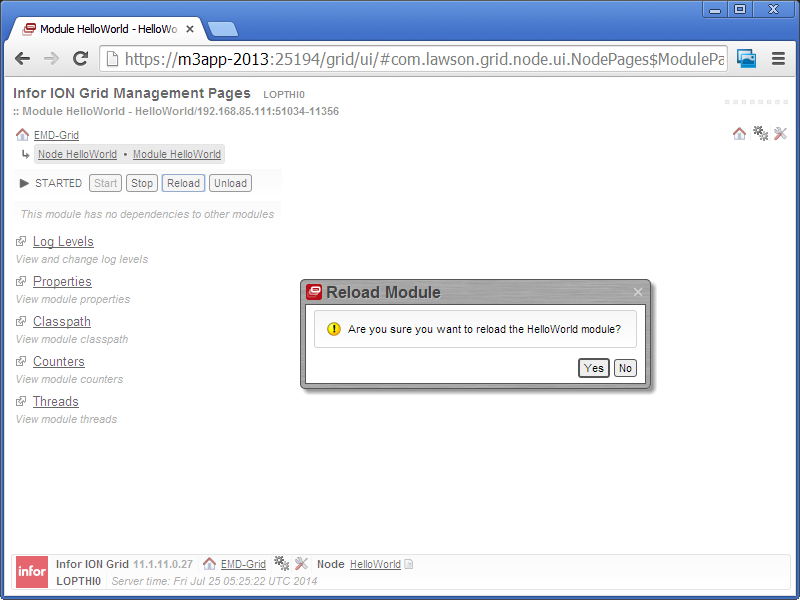
At this point, you can update your files (JSP, HTML, JavaScript, etc) directly in the LifeCycle Manager deployment folder, refresh the browser, and the server will serve the new version of your files. This is the same type of updates we do with Smart Office scripts. If you do this, remember to backup your changes.
E:\LifeCycle\<host>\grid\<grid>\grids\<grid>\applications\HelloWorld\webapps\HelloWorld\
Limitations
Because of the distributed topology, fault tolerant, load balanced, scalable, and redundant nature of the Infor Grid, it is our responsibility as grid application developers to design them correctly. But we don’t yet know how to do that on the Infor Grid. Remember to call Infor about that. So keep it simple for now:
- Make the application stateless until we find out how to store and share and synchronize state and make distributed sessions on the Grid.
- Don’t make direct connections to any servers with network sockets until we find out how to abstract the communication with the Grid routers.
- Don’t change any shared resources anywhere to avoid race conditions until we find out how to run critical sections on the Grid.
- Don’t expect to do parallel programming since we don’t yet know how to communicate with multiple instances of the application.
- Don’t persist data on disk as we don’t yet know how to abstract storage for failover and redundancy.
Summary
This was a hack to start developing simple applications on the Infor Grid. This technique is unofficial, undocumented and unsupported. It is our responsibility as developers to design applications correctly. Ask Infor to open up and support us.
That’s it! If you liked this, thank Jonathan, click Like, leave your comments below, subscribe to this blog, share with your peers, ask Infor to be open and embrace the community, and be responsible with your code. Thank YOU.