I am building an Infor ION Grid laboratory manually without LifeCycle Manager (LCM) for my learning purposes. In the previous post I had installed a minimalist Grid using an old version. Today I will install the latest version.
1. Preparation
Choose values for the following properties (here are some sample values):
| Grid name | e.g. Grid |
| Grid folder | e.g. C:\Infor\Grid\ |
| Database name | e.g. InforIONGrid |
| Host name | e.g. localhost |
| Host address | e.g. 127.0.0.1 |
| Grid agent port | e.g. 50003 |
| Registry port | e.g. 50004 |
2. Download latest version
Download the latest version of the Grid; as of today (5/12/2017) it is 11.1.13.0.77:

3. Create folder structure
Choose a home directory for your Grid, e.g. C:\Infor\Grid\ where the folder must match the Grid name (e.g. Grid), and create these sub-folders:
Grid
+---config
+---drivers
+---resources
\---secure

4. Copy JAR files
Let’s find the main grid-core.jar and supporting JAR files:
- Unzip the LCM file.
- Go to folder:
Grid_Installer_11.1.13.0.77.lcm\products\Infor_ION_Grid_11.1.13.0\tasks\ - Select these JAR files:
bcmail-jdk16.jar
bcprov-jdk16.jar
grid.httpclient.jar
grid.liquibase.jar
grid-core.jar
javax.servlet-api.jar

- Copy them to your
Grid\resources\folder:


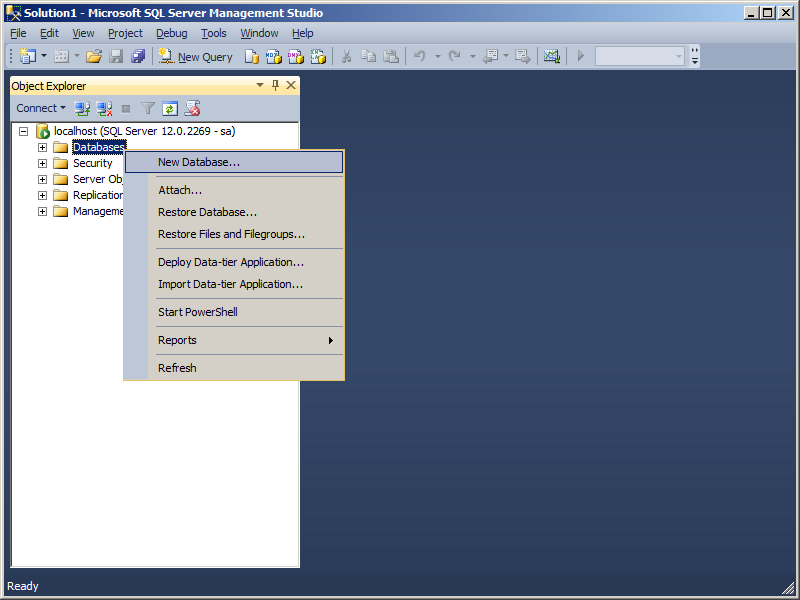
5. Create database
Let’s create the Grid database:
- Install SQL Server and SQL Management Studio (I installed SQL Server 2014 Express Edition at no cost), and ensure it works correctly:

- Download and install the Microsoft SQL Server JDBC Driver, and ensure you can connect to the database via JDBC (e.g. with SQuirreL):

- Create a new database (e.g. InforIONGrid):


- Run the following SQL to create the configuration table:
CREATE TABLE GRIDCONF (
    GRID varchar(64) NOT NULL,
    TYPE varchar(32) NOT NULL,
    NAME varchar(128) NOT NULL,
    TS numeric(20, 0) NOT NULL,
    DATA varbinary(max) NULL,
    SEQID numeric(5, 0) NOT NULL
)
- Run the following SQL to create a Grid configuration with name (e.g. Grid), runtime XML and topology XML (replace the Grid name and XML contents as needed):
DECLARE @runtime VARCHAR(300)
DECLARE @topology VARCHAR(300)
SET @runtime =
'<?xml version="1.0" ?>
<runtime xmlns="http://schemas.lawson.com/grid/configuration_v3">
    <bindings />
    <sessionProviders />
    <routers />
    <contextRoots />
    <propertySettings />
</runtime>'
SET @topology =
'<?xml version="1.0" ?>
<topology xmlns="http://schemas.lawson.com/grid/configuration_v3">
    <hosts>
        <host name="localhost" address="127.0.0.1" gridAgentPort="50003" />
    </hosts>
    <registry host="localhost" port="50004" />
</topology>'
INSERT INTO GRIDCONF (GRID, TYPE, NAME, TS, DATA, SEQID) VALUES ('Grid', 'runtime' , 'null', 0, CONVERT(varbinary(max), @runtime), 0)
INSERT INTO GRIDCONF (GRID, TYPE, NAME, TS, DATA, SEQID) VALUES ('Grid', 'topology' , 'null', 0, CONVERT(varbinary(max), @topology), 0)
- Verify the result:
SELECT GRID, TYPE, NAME, TS, DATA, LEFT(DATA, LEN(DATA)), SEQID
FROM GRIDCONF

- Copy the JDBC driver to your
Grid\drivers\folder:

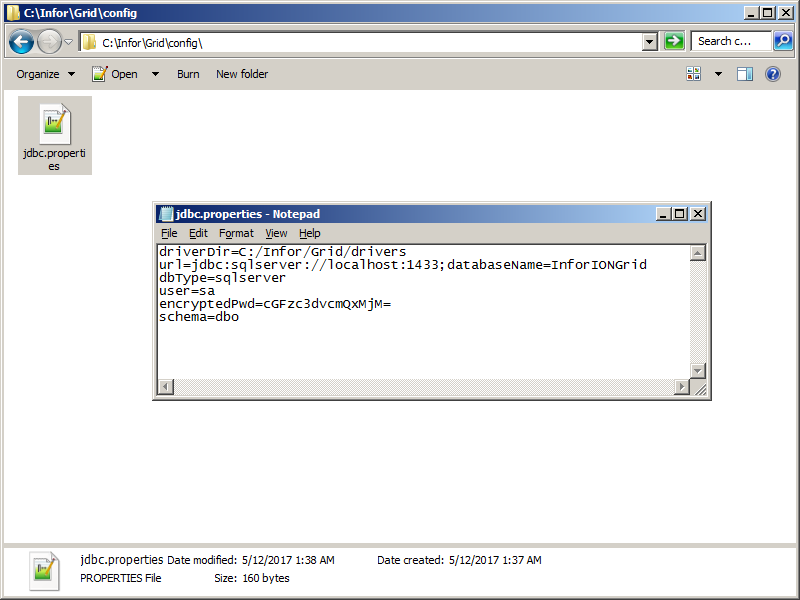
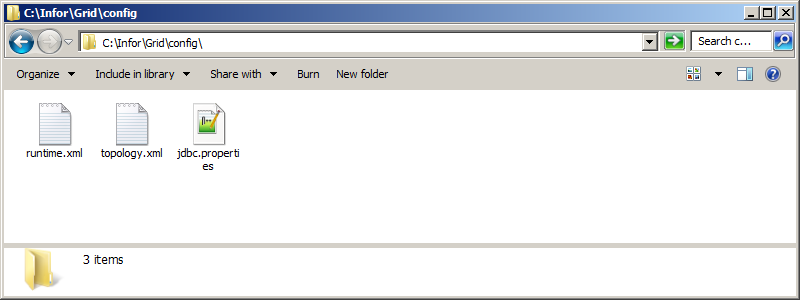
- Create the JDBC configuration file at
Grid\config\jdbc.propertieswith the values you chose above and with your database password Base64-encoded (in a production environment, keep this file secure):driverDir=C:/Infor/Grid/drivers url=jdbc:sqlserver://localhost:1433;databaseName=InforIONGrid dbType=sqlserver user=sa encryptedPwd=cGFzc3dvcmQxMjM= schema=dbo


Configuration Import & Edit
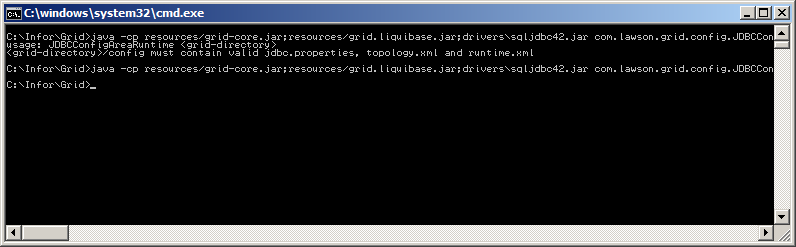
Alternatively, instead of using SQL to insert the runtime and topology XML into the GRIDCONF table, we can run the following command to import the XML files from the Grid\config\ folder into the GRIDCONF table (it requires the EXISTING_GRIDS table):
CREATE TABLE EXISTING_GRIDS (
    GRID_NAME varchar(64) NOT NULL,
    GRID_VERSION varchar(32) NOT NULL,
    MODIFIED_BY varchar(128) NULL,
    TIMESTAMP numeric(20, 0) NOT NULL,
)
INSERT INTO EXISTING_GRIDS (GRID_NAME, GRID_VERSION, MODIFIED_BY, TIMESTAMP) VALUES ('Grid', 1, 'Thibaud', 0)
java -cp resources/grid-core.jar;resources/grid.liquibase.jar;drivers\sqljdbc42.jar com.lawson.grid.config.JDBCConfigAreaRuntime C:\Infor\Grid
Then, we can use this other command to launch the XML Editor and edit, format and validate the XML:
java -cp resources/grid-core.jar;resources/grid.liquibase.jar;drivers\sqljdbc42.jar;resources/bcprov-jdk16.jar;resources/bcmail-jdk16.jar com.lawson.grid.config.client.ui.Launch

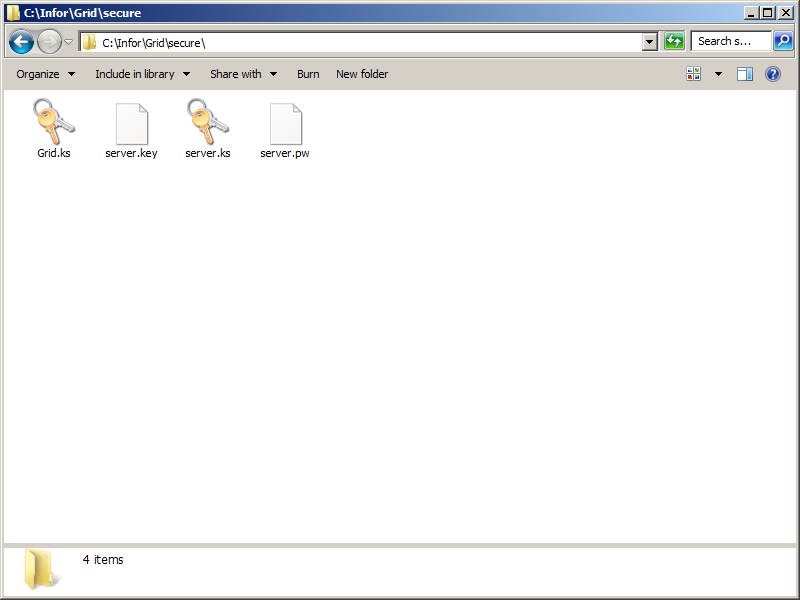
6. Security
The Grid uses cryptography to protect its network traffic. We need the following four files in the folder Grid\secure\ . For now, I will simply get these files from an existing Grid, and I will create new ones later.
Grid.ks
server.key
server.ks
server.pw
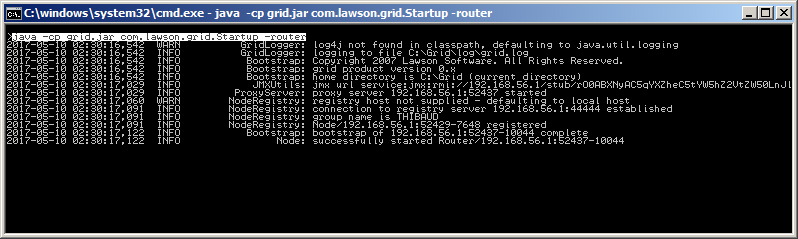
7. Start the Grid
Start the Grid:
java -cp resources/grid-core.jar;resources/bcprov-jdk16.jar;resources/bcmail-jdk16.jar;resources/grid.liquibase.jar;drivers\sqljdbc42.jar;resources/javax.servlet-api.jar;resources/grid.httpclient.jar com.lawson.grid.Startup -registry -configDir . -host localhost -logLevel ALL

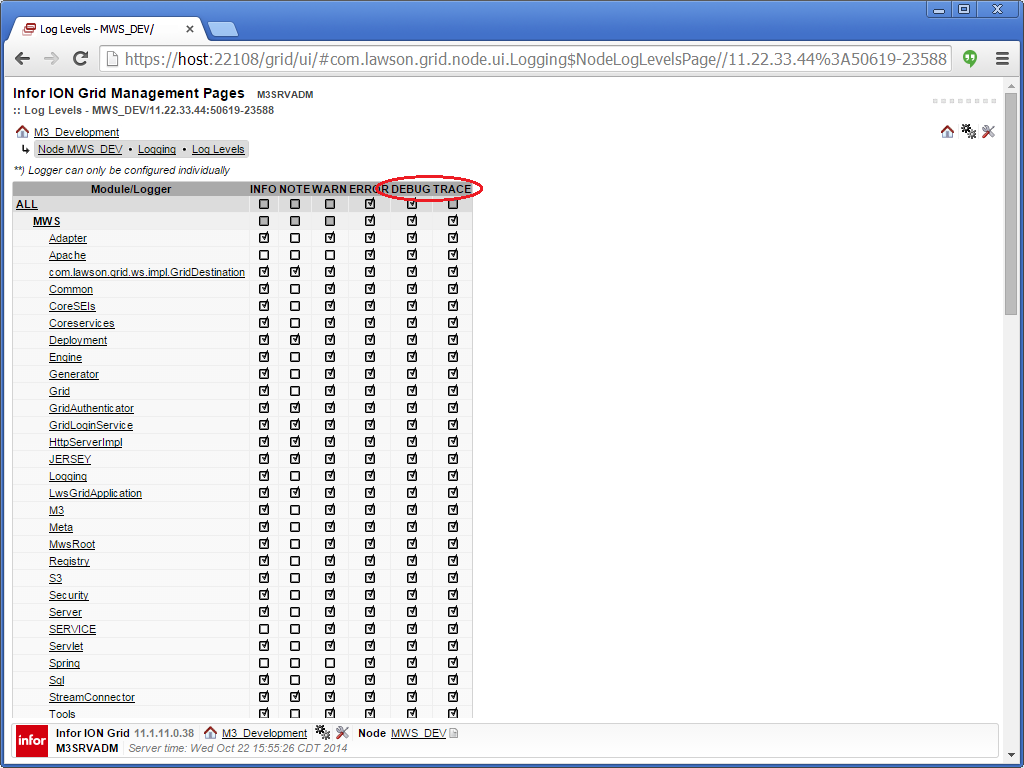
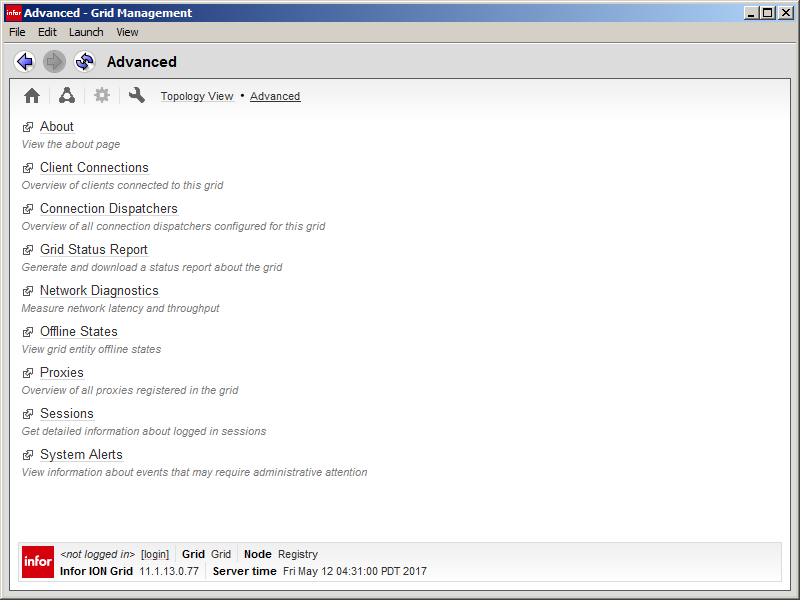
8. Grid Management Pages
Start the Grid Management Pages and connect to the registry at localhost:50004:
java -jar resources/grid-core.jar


9. Topology View
For the Topology View, we need another table:
CREATE TABLE APPMAPPINGS (
    GRID varchar(256) NOT NULL,
    NAME varchar(256) NOT NULL,
    HOST varchar(256) NOT NULL,
    ID varchar(64) NULL,
    PENDINGID varchar(64) NULL,
    STATE varchar(32) NOT NULL,
    LOGNAME varchar(256) NULL,
    PROFILENAME varchar(64) NULL,
    PROFILEDATA varbinary(max) NULL,
    JVMID varchar(64) NULL
)

Result
We now have a minimalist Grid installed manually without LCM.
Future work
In the next post, I will show how to create the security files.
Conclusion
That was how to install a minimalist latest version of the Infor ION Grid manually without LifeCycle Manager. We have the minimalist folder structure, database, configuration, commands, Grid Management Pages, and Topology View. I will continue in the next post.
That’s it!
M3 Ideas, now 282 subscribers.
Related posts
- Building an Infor Grid Lab – Part 1 – early Grid version 0.x
- Building an Infor Grid Lab – Part 2 – latest Grid version 11.x
- Building an Infor Grid Lab – Part 2bis – Configuration Manager
- Building an Infor Grid Lab – Part 3 – Cryptographic keys
- Building an Infor Grid Lab – Part 4 – Grid installer
- Building an Infor Grid Lab – Part 4bis – Console and silent install
- Building an Infor Grid Lab – Part 5 – PostgreSQL database
- Building an Infor Grid Lab – Part 6 – Ubuntu Linux
- Building an Infor Grid Lab – Part 6bis – CentOS Linux
- Building an Infor Grid Lab – Part 7 – Virtual Private Cloud