After my previous post Hello World of Infor Smart Office SDK, I will now illustrate how to add a feature to Infor Smart Office SDK, for example the Infor Customer Lifecycle Management (CLM) feature. For that, we’ll need to get the feature files and add them to our Visual Studio Solution.
Get the feature files
To get the feature files, we need to find the Manifest and Application extension (DLL) files of our feature.
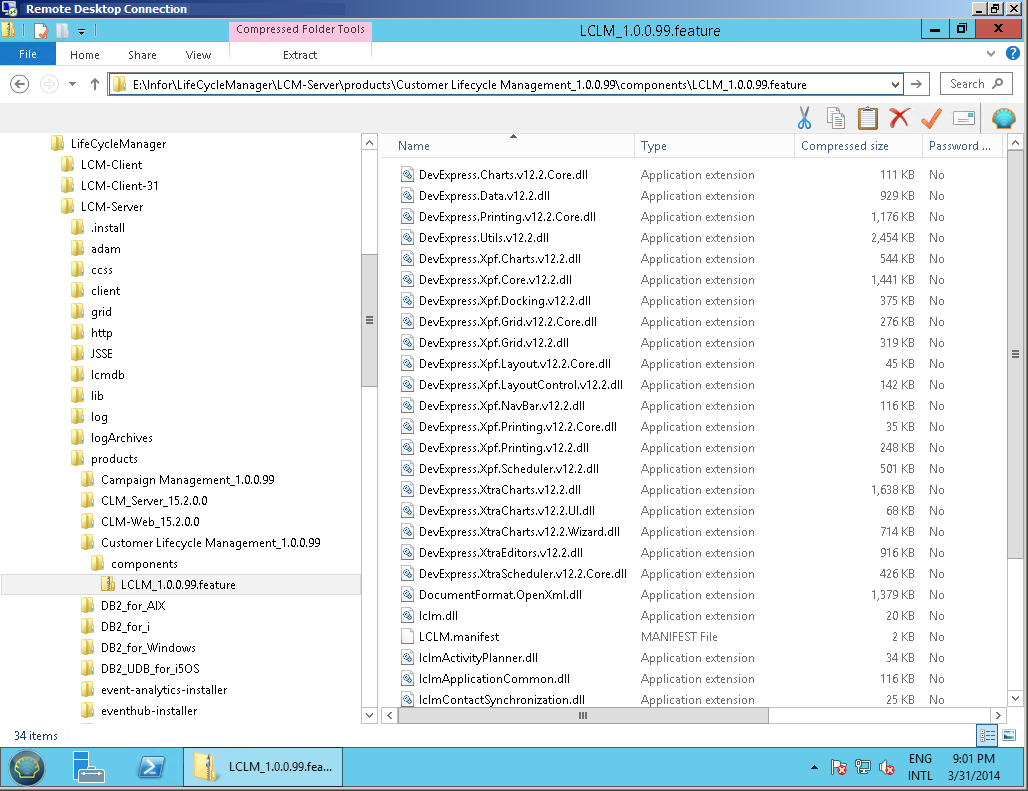
From the Smart Office server
You can find the feature files in the Infor LifeCycle Manager (LCM) server > products > components folder, and unzip the feature:

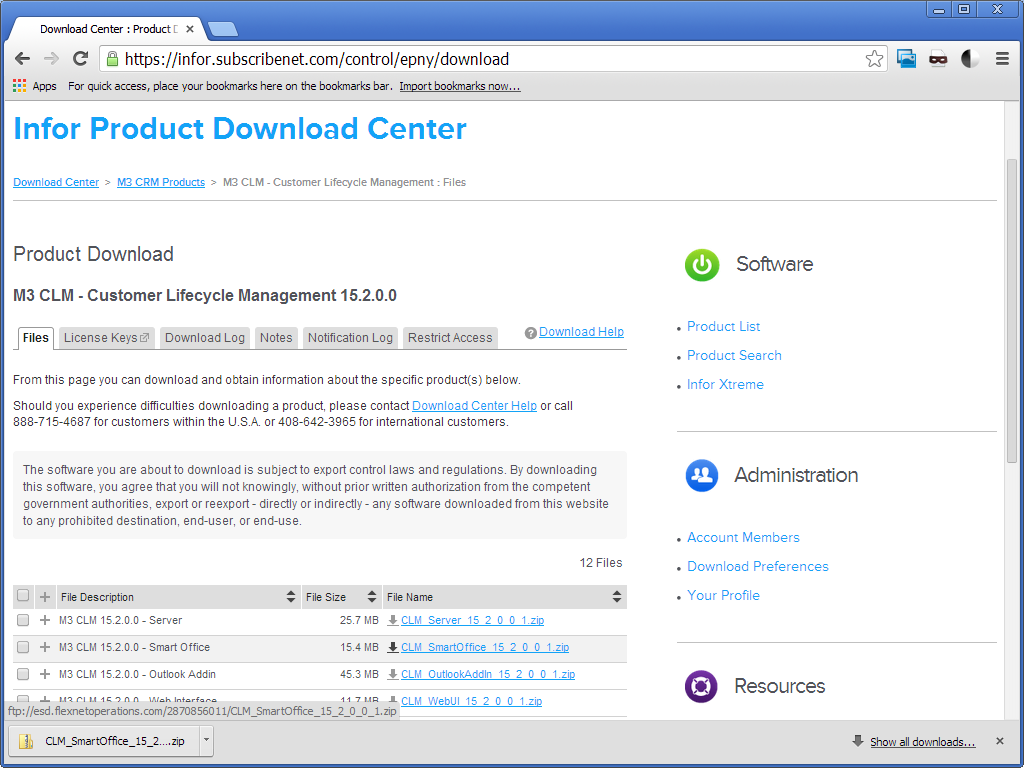
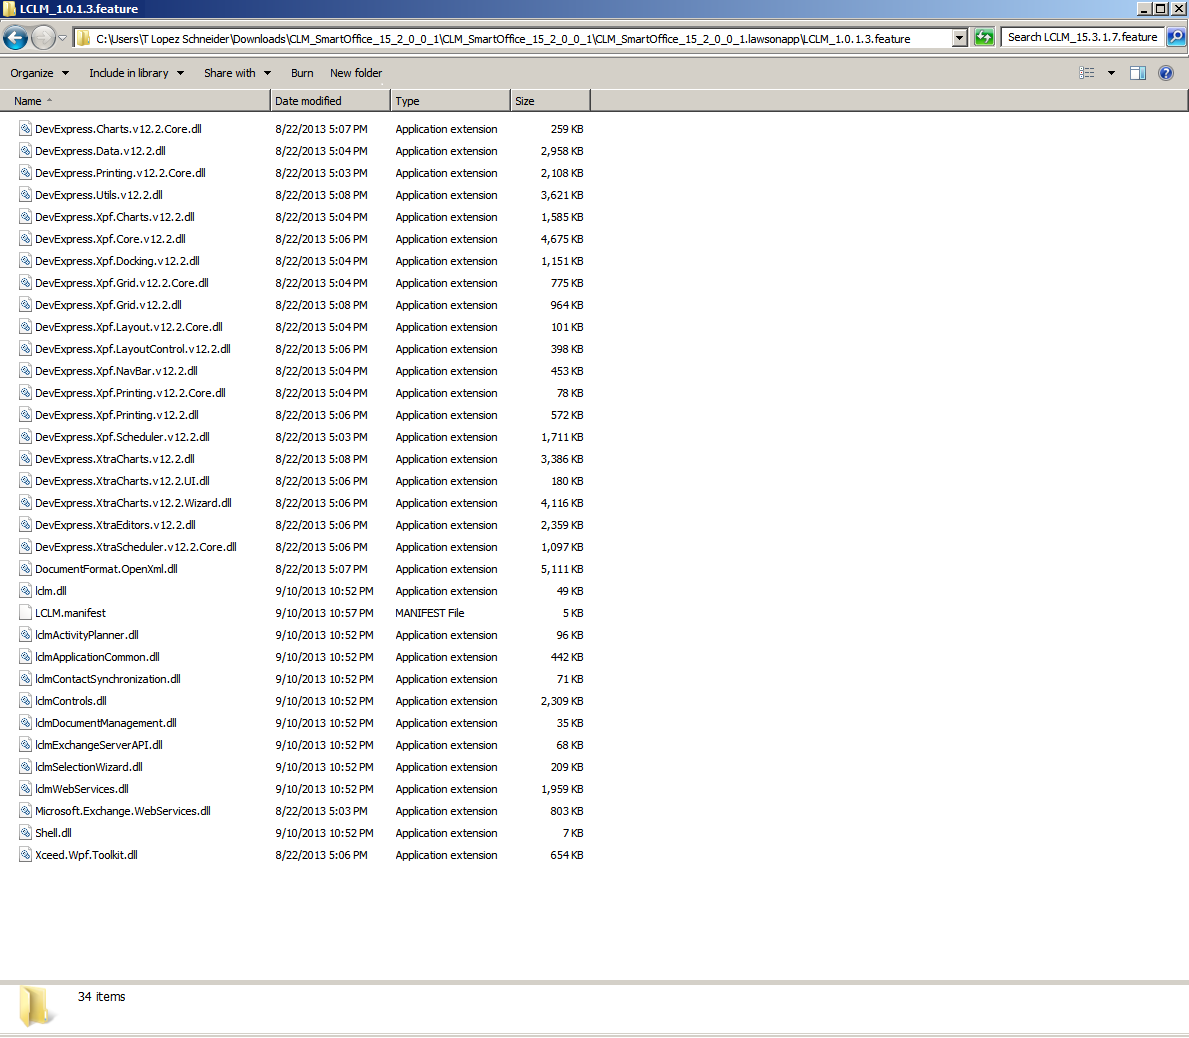
From Infor Xtreme
You can also find the feature files by downloading and unzipping the feature from Infor Xtreme. In my case I couldn’t find the same version of CLM to download as my server, but I put screenshots anyway to illustrate the point:
From the local deployment
You can also find the feature files locally in the current ClickOnce application deployment folder of your computer:
- Start Smart Office from the server (not Smart Office Developer from Visual Studio).
- Select Show > Settings > Infor Smart Office, switch the Log level to Debug, and click Save:

- Logoff Smart Office and logon again.
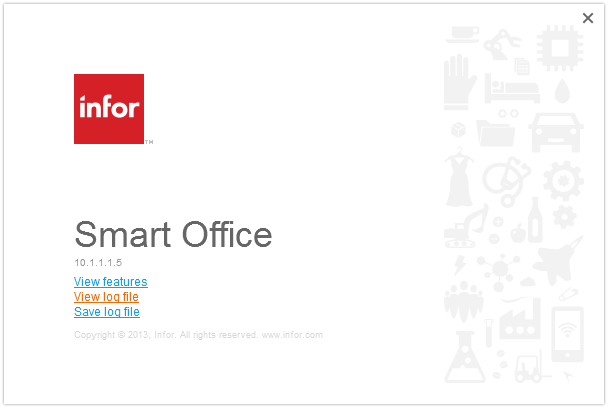
- Select the Help menu (question mark icon at the top right) > About Infor Smart Office > View log file:

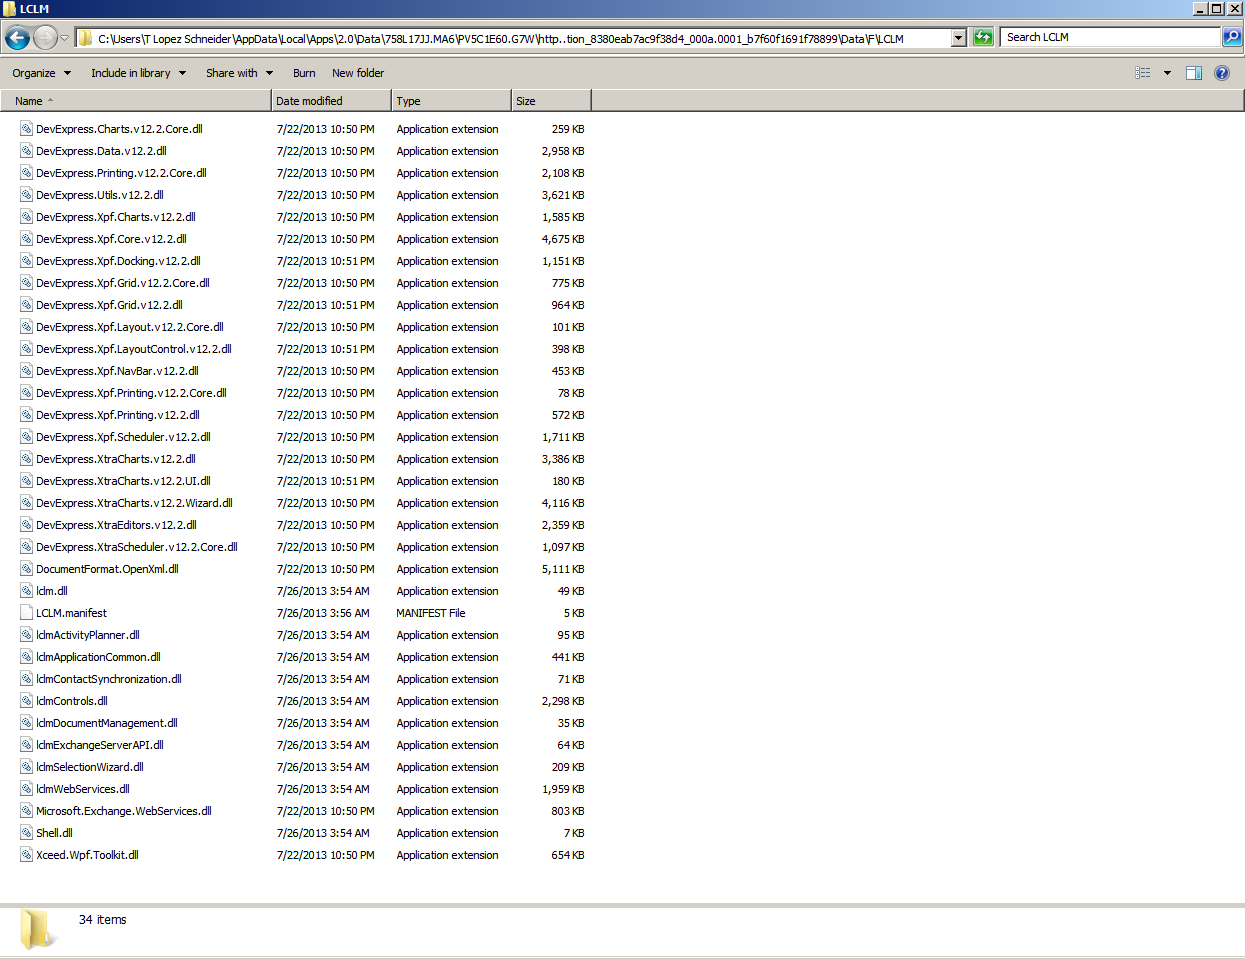
- Filter Origin with RegisterGroups, filter Message with the Manifest of the feature you want to add, for instance LCLM.manifest, and notice the path to the Manifest, for example C:\Users\…\AppData\Local\Apps\2.0\Data\…\…\http…\Data\F\<feature>\ :

- And open that path in Windows Explorer:


Reference the files in Visual Studio
Once you found the Manifest and Application extension (DLL) files:
- Copy/paste them to the Bin directory of your SDK root directory:

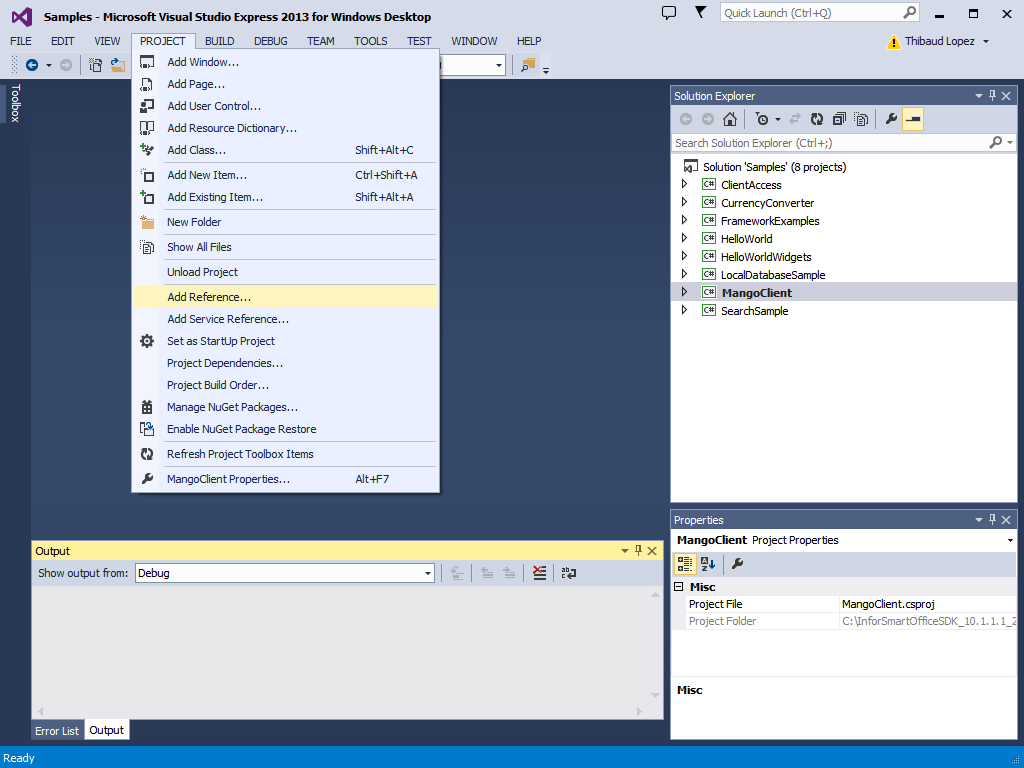
- Open your Visual Studio solution, select the MangoClient Project, and select PROJECT > Add Reference:

- Browse to the Bin directory, select the DLL files you just pasted, and click OK:

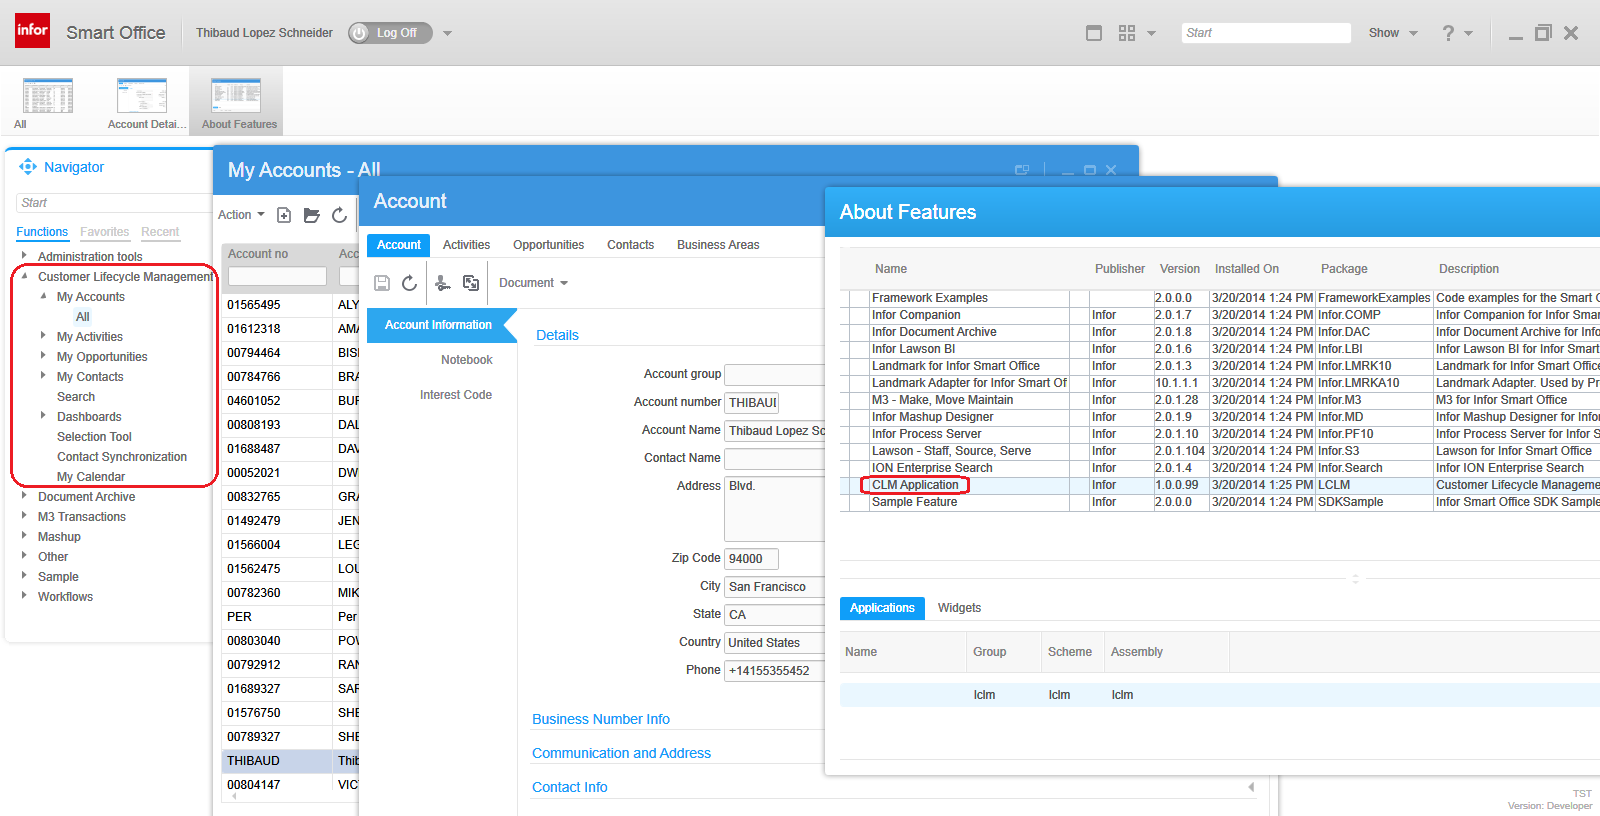
- Now Rebuild your solution, Start it, and the feature will be there in your Smart Office Developer mode:


That’s it!
Note: Instead of copy/pasting the files to the Bin directory, I also tried adding a reference to the files of the ClickOnce directory, i.e. no need to copy/paste, and it worked fine. But the Developer’s Guide states “The feature assemblies and the feature manifest must be copied to the bin directory so that the framework can load the feature when the client starts.” Maybe there’s a reason I don’t know about, so I followed their instructions.
If you liked this post, subscribe to this blog and we’ll send you an email notification when we write a new post. Also, become a contributor and post your M3 ideas.

2 thoughts on “Add a feature to Smart Office SDK”